I made a card for my niece’s Bridal Shower with an Origami Butterfly. Joan Son makes a similar butterfly plus award-winning Origami. My butterfly is different; Joan's are fluffier.
Start with a square piece of paper. I used handmade paper 5 inches square to fit my 5 x 4 inch card. Only a few steps involved:
1. Fold diagonally both ways using a bone folder.
2. Scrunch the middle together: poke in the center, like this:
3. Fold flaps down to center point - on one side only.
4. Turn over & fold up past the edge - as on the right below.
5. Fold top flaps down & create corner folds - at bottom.
6. Turn over and fold in half - looks like this:
7. Use an awl or needle tool to punch holes for adding a tiny brad to the nose to puff it out.
For the card: Put through Sizzix for embossing the flowers; added the butterfly (without the brad) and flattened it.
Ribbon from Target says: “Happily Ever After” - taped that on the card.
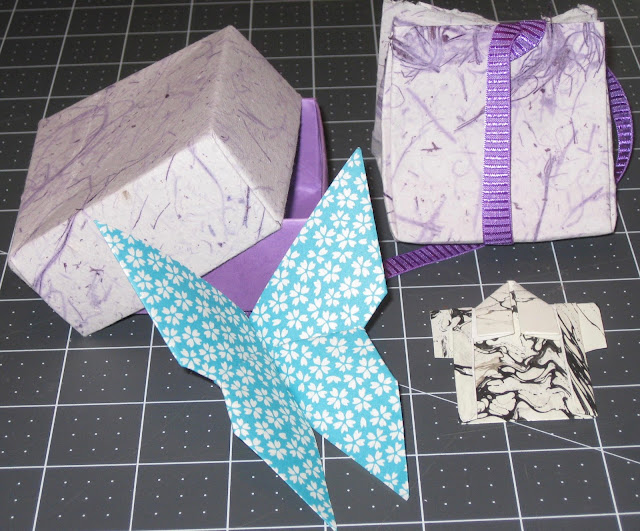
I am teaching Origami to the Cinco Ranch Ladies Club: Craft Group - on February 27th - for free. See directions for my other Origami pictured here:
Gift Box: https://anneritataylor.blogspot.com/2016/02/handmade-gift-box_26.html
Pouch: https://anneritataylor.blogspot.com/2016/04/folded-paper-pouch.html
Kimono: https://anneritataylor.blogspot.com/2016/06/origami-kimono.html
Once I get started with the butterflies I find other uses for them such as party banners or even decorating a wreath or Christmas tree! Have you tried to make them? Let me know...
©Anne Rita Taylor 2017


