Friday, June 24, 2016

Origami Kimono

©Anne Rita Taylor 2016
I love these Origami Kimonos - I have used them on greeting cards for birthdays, anniversaries, thinking of you plus bookmarks and place cards at dinner parties.
Supplies:
Handmade paper 2 inches by 7 inches

The handmade paper I used - from a 5 by 7 inch screen - I cut off the lovely deckle edges since the Kimono looks better with straight edges and is enough for two Kimonos.
  1. Fold top 1/4 inch and fold over again - this is the start of the all important collar.
  2. The middle of the top - where you folded - is 1 inch and fold down from this mid point to make the collar.


3.   Measure 2 1/4 inches from the top and fold back.
4.   Measure 4 3/4 inches from the top and fold back again as in photo.

5. Fold sides up to collar areas, as pictured.
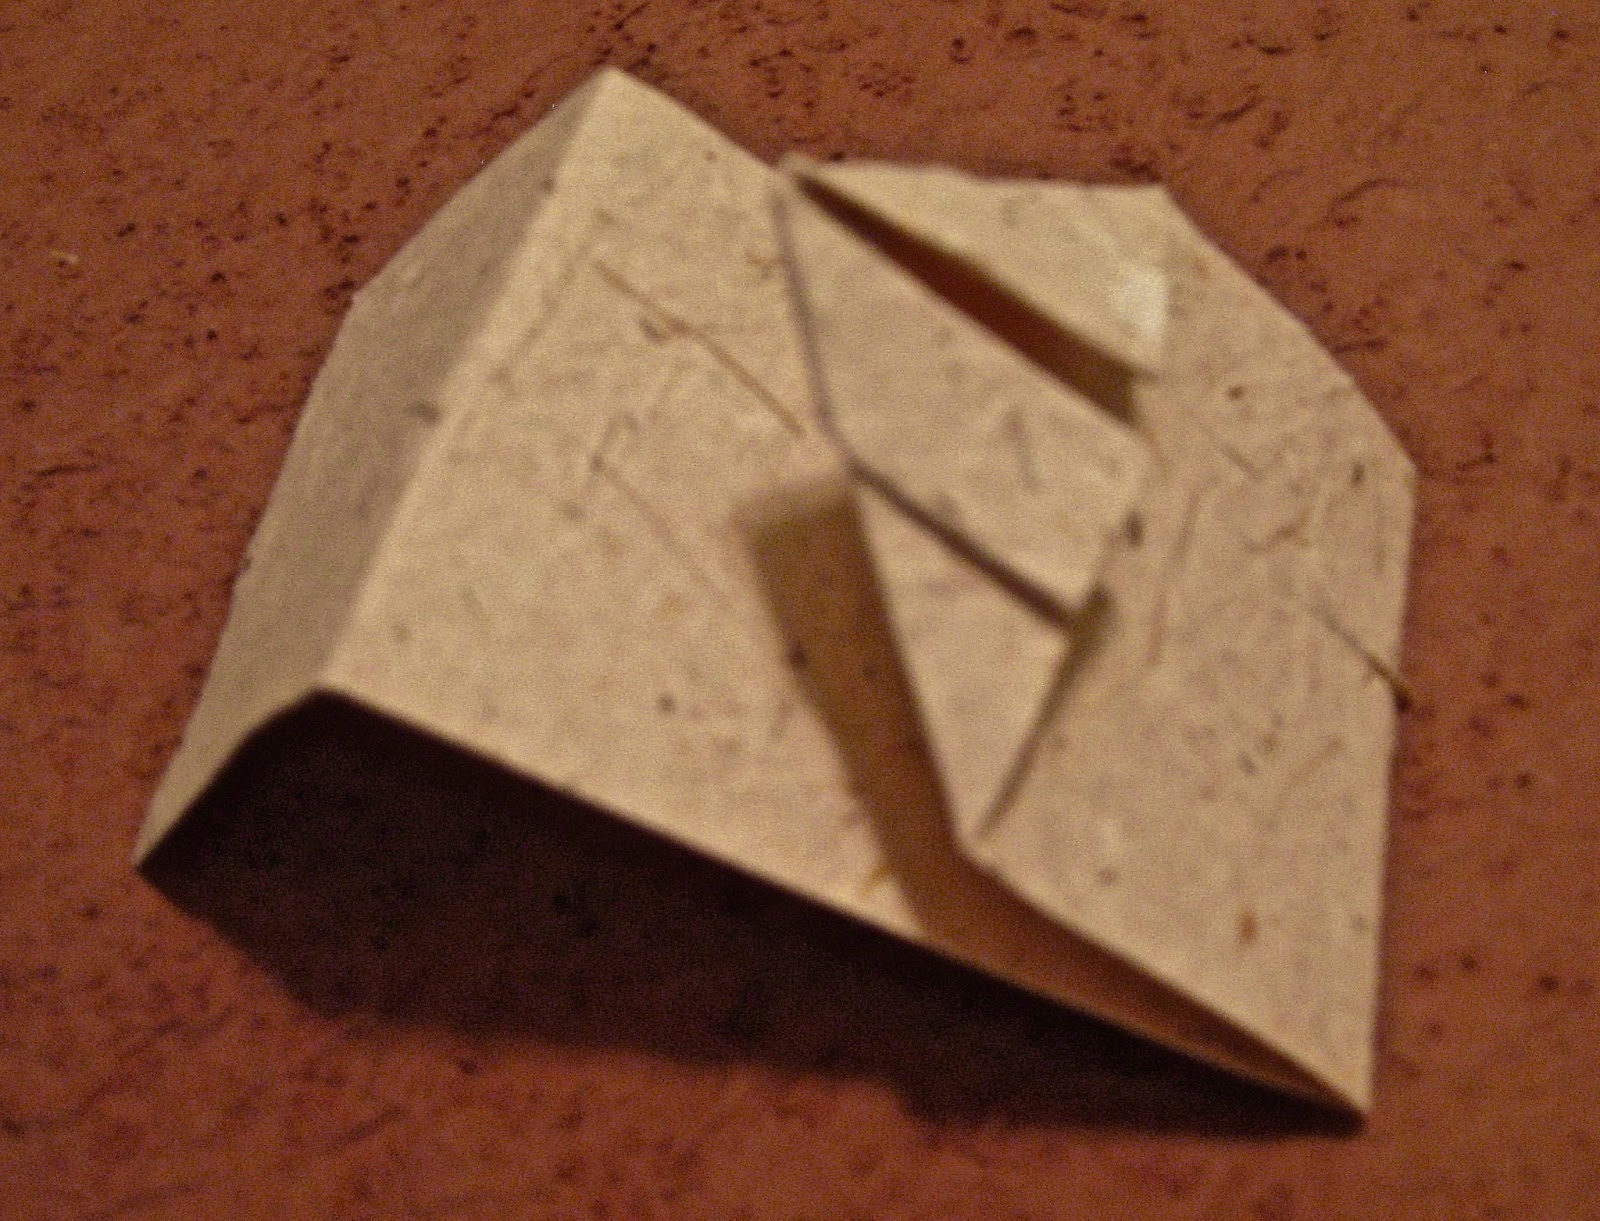
6. Tricky part! Fold top of each side to make a hood as pictured, helps to put your finger inside the fold.               


7. Fold back so top of collar is visible 1/4 inch, here is the back.
8. See the front!  Fun to make with Origami or Marbled paper too.

Once you make one, you will want to make a bunch!


If this was helpful, please let me know what you think in Comments below.

Friday, June 17, 2016

Designing Uncial Lettering

©Anne Rita Taylor 2016
A favorite quote of mine with one of my carved images.
Uncial calligraphy was the second hand (font) I learned when I was beginning my calligraphic journey. Italic, my first calligraphic hand, will have its own blog soon.

Uncial Exemplar by Anne Rita Taylor
Last week summer study began with the Houston Calligraphy Guild (HCG) on Gothic Lettering.  While I practiced the Blackletter hand I noticed Uncial was used for initials to introduce the rest of the text which was in Blackletter or Italic lettering.
An Uncial "A" and I need more practice with Blackletter.


After the summer study class I took a book out of the HCG Library called Medieval Calligraphy - Its History and Technique by Mark Drogin. From 1989, it is an interesting book.

Uncial had its beginnings in the 3rd to 6th Century. Examples in the Marc Drogin book are from 450 and 510. 

Yet I love Uncial because it seems so modern to me. 

Uncial is often called Irish calligraphy. The Celtic Design Book by Aidan Meehan has been invaluable. He talks about an early Psalm book circa 600, the Cathach of St. Columba, with letters decorated with spirals and small animal heads.

From Aidan Meehan's book


The Book of Kells from the year 800 has stylized Uncial lettering which has the Latin texts of the Four Gospels of the New Testament, Christian Bible. 


When my friend Carol traveled to Trinity College in Dublin she brought back a Book of Kells coloring book for me; here 
is the letter T. 


I make use of the Speedball Textbooks - the latest came out in 2015 and displays four types of Uncial Exemplars: Uncial Gothic, Celtic Uncial, Roman Uncial (my favorite), and Greek Uncial.

An early example of my Uncial lettering - even though it looks easy, it takes lots of practice.


Still practicing…
With one of my carved images, another favorite quote of mine.

Friday, June 10, 2016

Creating a Photo Album

©Anne Rita Taylor 2016

After I received the Make Your Own Book kit from Arnold Grummer I was pleasantly surprised. First of all, I loved the size, 5 1/2 by 10 inches!


It had all the basic pieces, 2 cover boards, 2 pre-drilled end boards, 2 sets of hardware, instructions, but also really heavy weight paper - 35 lovely pages pre-drilled!


I could make the book with duct tape, which was OK for this book-binder, or use paper or cloth. I use a spacer bar when I use boards that need a hinge, makes gluing so much easier. Found these brass spacer bars at Home Depot near the wood aisle.


I found this lovely paper at Paper Source. When I have end boards that are pre-drilled I make sure I pop in an awl so I don’t lose sight of those holes down the road. Of course I used a bone folder to smooth out the paper after gluing the boards.


Cut triangles - leaving 2 board widths, then pinch the ends to glue the covers over the book boards.


Place the finished covers in my Arnold Grummer paper press overnight.

I can either screw in the hardware...


Or make it even prettier by adding gold ribbon - 27 inches - a gold paper square and a black paper square - both 4 inches, plus a heart-shaped doily. Using Uncial calligraphy I wrote The Taylors.
Using it for a photo album for this year's summer adventures. 

Am I going back to Paris!?! Have to wait for their flooding to recede...

Friday, June 3, 2016

Repurposed Fabric Book

©Anne Rita Taylor 2016


A few years ago I was invited to join a group of creatives wanting to monetize our crafting. We started out with five of us, a couple were Certified Zentangle Teachers.


Trying to figure out a journal to use, of course I had to create my own, using watercolor paper such as Arches Text Wove, and Canson Mi Tientes plus lined pages I made for instructions or thought processing. Here I used Foundational calligraphy.


One day I became inspired while I was in Bed, Bath & Beyond! The placemats seemed perfect for what I wanted to do; I bought a few in different sizes. 


I went home, gathered my papers, made a sewing template with 11 stations (holes), hole-punched and sewed in 4 signatures of 8 pages each, totaling 128 pages, using the longstitich binding method. The closed book is 11 inches tall and 9 inches wide, with an inch spine, opens to 19 inches wide.  The placemat is 13 inches tall.

I decorated some pages, spraying Tim Holt's distress paint, so the book would not be totally blank. 


We met twice a month and worked on creative exercises there or at home.


Wanting a holder for the book, I cut an opening in the back of the placemat for The Creative Entrepreneur, by Lisa Sonora Beam, the book we were using. You can see my end papers matched her book color.


I adhered fabric tape inside and also to bind the opening in back of the placemat, making it a pocket to hold the book. 

We met at Beckah Krahula’s house and she was writing books about Zentangling; the group met for a few months before she had tremendous success - way to go Beckah! You can see her books on Amazon here. Tangle Journey is my personal favorite!

I kept my corporate job for a few years; now I’m ready to burst on the creative entrepreneurial scene. This is a fun class I'm presenting this summer at Art Supply on Main in Houston, Texas.

I was reminded of my placemat book while I was reading the Paper & Stitch blog about making two placemats into a handbag. 
http://www.papernstitchblog.com/2016/06/01/budget-friendly-diy-crossbody-bag/
From the Paper & Stitch Blog: Craft production and photography by Amelia Tatnall.