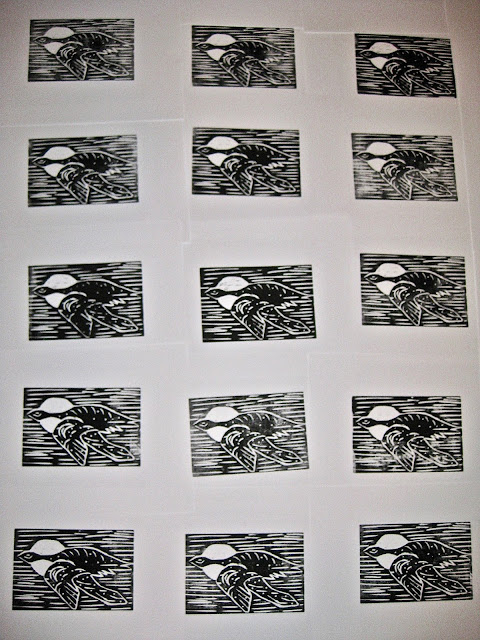
Several years ago I took a wood cutting class where I did not learn anything. I made this woodcut prior to the class as I tried out my new cutting tools. It is my only woodcut!
For the last two years I’ve been a member of the Rubber Amateur Press Society and we have a quarterly swap of hand-stamped images. Click here for my October blog:
https://anneritataylor.blogspot.com/2016/10/print-vibe.html
Since I had not carved anything recently and the due date of April 30th was approaching, I thought of my wood carving.
I could have used the Press at The Printing Museum in Houston, but they are renovating due to a fire last May. How would I print? I tried printing using my Arnold Grummer Paper Press and it worked OK.
I carefully lined up the paper and placed the inked wood as close to the middle as possible and lowered the press.
I used water based ink and rolled it on a piece of copper side-taped glass before rolling the ink on the woodcut. My first one came out great, pictured up top.
The third time came out too light, so I added ink and rolled again, great images for 3 of them, so I added more ink - then it came out too dark.
It took me 24 prints to have 15 OK prints to swap. I'm experimenting with the lighter ones to add some color. I tried coloring in the circle to have the Sun but I like the black & white Moon effect better.
I bought the Wood Carving tools at Walmart plus I already had the extra V-shaped cutting tool in my carving supplies. The piece of wood is from Hobby Lobby.
All in all, I think they came out OK. Although I plan to do more experimenting. Any thoughts from any of my blog readers is appreciated.
©Anne Rita Taylor 2017


