Showing posts with label Arnold Grummer paper making. Show all posts

Friday, August 19, 2016

Top Ten Reasons...


I changed the name of my blog this week: from Paper Crafting to Art Craft Share. I was motivated to blog by writing a blog twice a month for Arnold Grummer Paper Making. And I may continue with them; I’m taking a short break from paper making projects. 

My blog remains the same: talking about workshops I have taken plus my varied interests: making books, calligraphy, and all that comes in between including art journaling and DIY crafts.

Here are my Top Ten Reasons to Art, Craft & Share:
1.   Inspiring others.
2.   Developing new ideas.
3.   Learning.

4.   Sharing information.
5.   Going on a rant!


6.   Creating home decorations.
7.   Playing with crafts.
8.   Collaborating with friends.
9.   Exploring an unfilled need.
10. Having fun!

The world needs us! We are needed because we are happy and we do not horde information - we share what we are doing. We are - each of us - unique. Please let me know what you think too!
©Anne Rita Taylor 2016

Friday, June 24, 2016

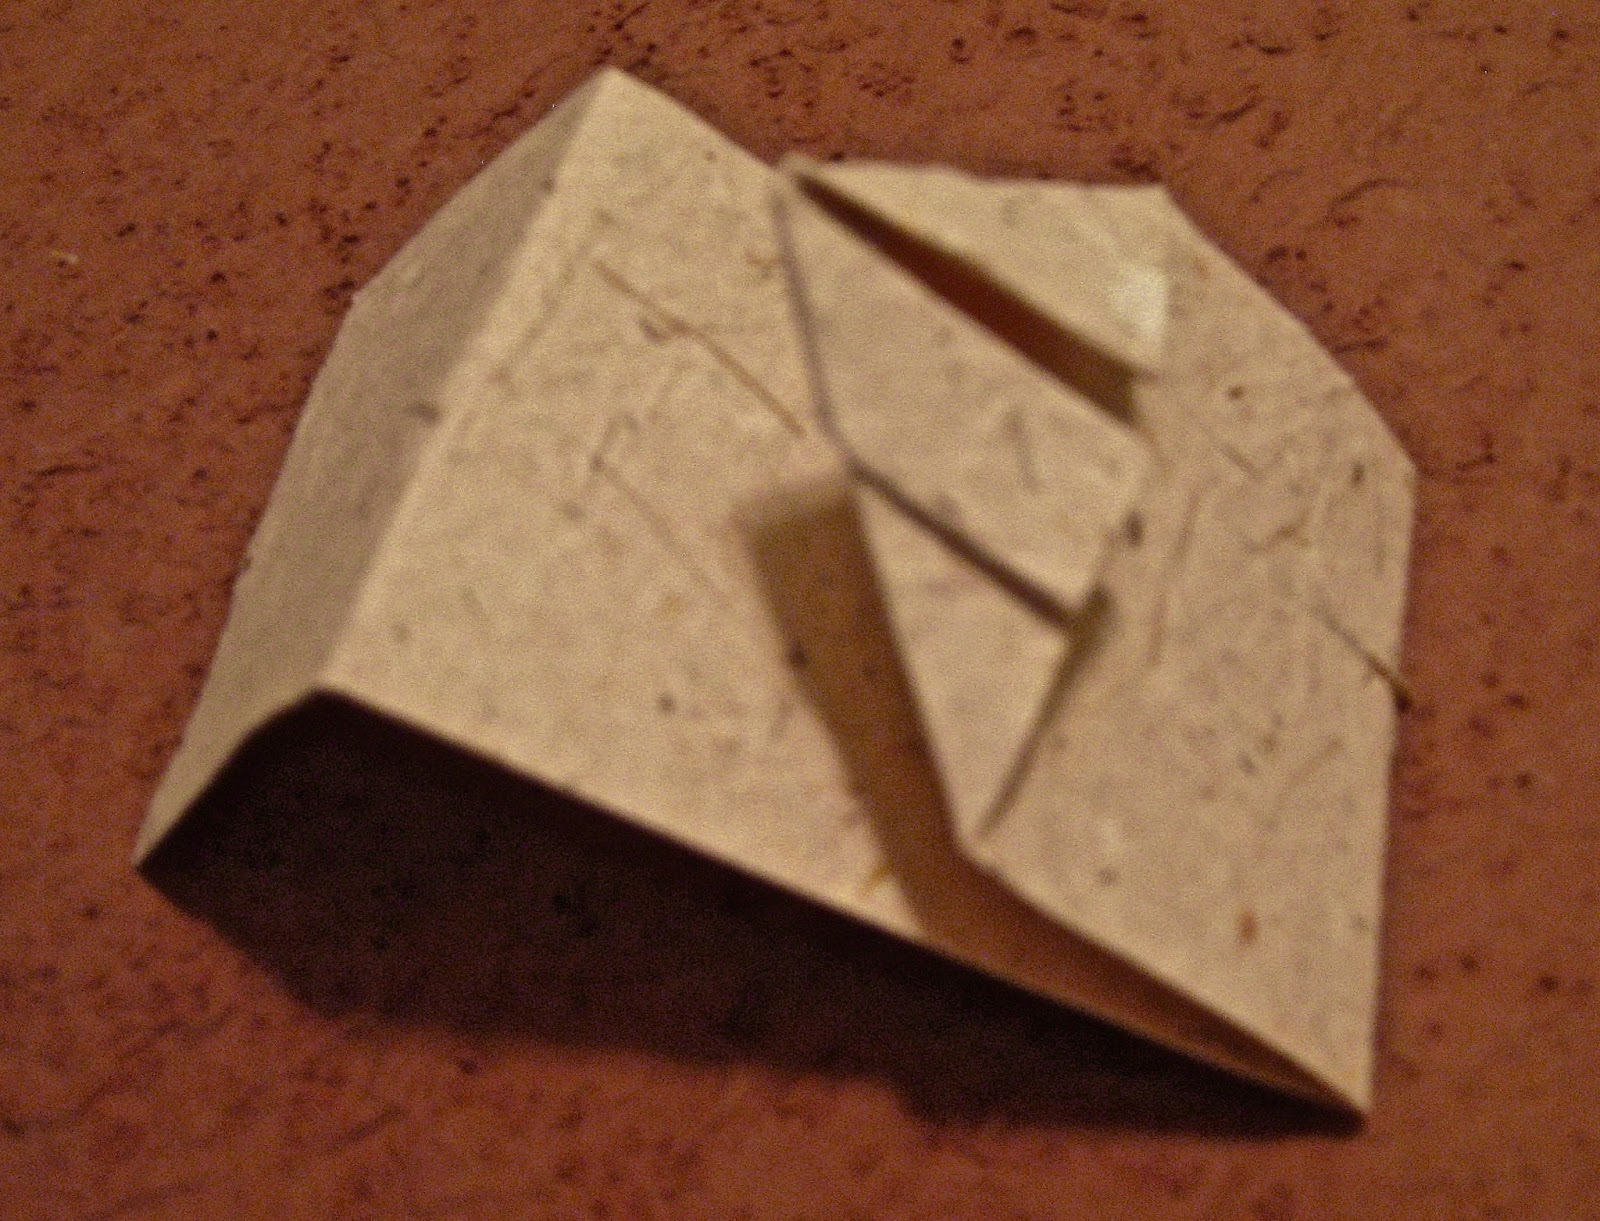
Origami Kimono

©Anne Rita Taylor 2016
I love these Origami Kimonos - I have used them on greeting cards for birthdays, anniversaries, thinking of you plus bookmarks and place cards at dinner parties.
Supplies:
Handmade paper 2 inches by 7 inches

The handmade paper I used - from a 5 by 7 inch screen - I cut off the lovely deckle edges since the Kimono looks better with straight edges and is enough for two Kimonos.
  1. Fold top 1/4 inch and fold over again - this is the start of the all important collar.
  2. The middle of the top - where you folded - is 1 inch and fold down from this mid point to make the collar.


3.   Measure 2 1/4 inches from the top and fold back.
4.   Measure 4 3/4 inches from the top and fold back again as in photo.

5. Fold sides up to collar areas, as pictured.
6. Tricky part! Fold top of each side to make a hood as pictured, helps to put your finger inside the fold.               


7. Fold back so top of collar is visible 1/4 inch, here is the back.
8. See the front!  Fun to make with Origami or Marbled paper too.

Once you make one, you will want to make a bunch!


If this was helpful, please let me know what you think in Comments below.

Friday, June 10, 2016

Creating a Photo Album

©Anne Rita Taylor 2016

After I received the Make Your Own Book kit from Arnold Grummer I was pleasantly surprised. First of all, I loved the size, 5 1/2 by 10 inches!


It had all the basic pieces, 2 cover boards, 2 pre-drilled end boards, 2 sets of hardware, instructions, but also really heavy weight paper - 35 lovely pages pre-drilled!


I could make the book with duct tape, which was OK for this book-binder, or use paper or cloth. I use a spacer bar when I use boards that need a hinge, makes gluing so much easier. Found these brass spacer bars at Home Depot near the wood aisle.


I found this lovely paper at Paper Source. When I have end boards that are pre-drilled I make sure I pop in an awl so I don’t lose sight of those holes down the road. Of course I used a bone folder to smooth out the paper after gluing the boards.


Cut triangles - leaving 2 board widths, then pinch the ends to glue the covers over the book boards.


Place the finished covers in my Arnold Grummer paper press overnight.

I can either screw in the hardware...


Or make it even prettier by adding gold ribbon - 27 inches - a gold paper square and a black paper square - both 4 inches, plus a heart-shaped doily. Using Uncial calligraphy I wrote The Taylors.
Using it for a photo album for this year's summer adventures. 

Am I going back to Paris!?! Have to wait for their flooding to recede...

Friday, May 27, 2016

Folded Card Holder

©Anne Rita Taylor 2016

A few years ago I made folded card holders to hold techniques to decorate paper. I printed the pen and the fleur de lys, my hand carved images.


Finished size is 5 inches square. Original size of paper: 12 by 15 inches, with 4 inch square cards inserted inside.


When I wanted to give a few cards (Business Cards or Artist Trading Cards) to someone I wanted them in a nice folder. I made the Folded Card Holder with handmade paper and it added that special touch.


Supplies:
Handmade paper, 8 1/2 wide x 11 inches long
Artist Trading Cards or Business Cards


Fold the wide side 1 and 1/2 inches on each side.


Turn over, and fold at 2 and 3/4, and 6 and 7/8 inches.


At the 2 and 3/4 fold - fold in diagonally on both sides.


Tuck the end into the diagonals, then fold in half.


Insert your cards - inside, front, and back.


Friday, March 25, 2016

Ribbon Book Binding

©Anne Rita Taylor 2016

We had interesting themes when we swapped handmade books online a few years ago. It was always fun seeing what each person made. The books had content, except when we would have a Blank Book Exchange or a How-To Book Binding.


The How-To Book Binding theme always received the most participation! We included the paper and instructions. I sent the Ribbon Binding - pretty and an easy book to make. It requires only 4 pages with a cover, plus a good amount of ribbon. Especially good for using leftover hand-made paper scraps.


Supplies: 
Cover: 5 1/2 by 8 inches, folded in half to 4 inches by 5 1/2 inches
Paper: 4 pages 5 1/2 by 8 inches, also folded in half - I used stationery with roses on the edges
Pretty Hand-made paper: 3 by 4 inches - Paper that I made with flower inclusions
Optional paper for framing the handmade paper on the cover: 2 1/2 by 3 1/2
Ribbon: 4 feet; Double sided tape
Two beads with large holes


Directions:
• Start by wrapping the ribbon around the outside into the inside middle of the cover. Tie a knot at the top leaving 6 inches of ribbon - where you’ll add a bead

  • Fold in one page wrapping the ribbon around the valley fold of the page. Loop through the ribbon at the bottom
  • Fold in the second page and wrap the ribbon, loop through the ribbon at the top
  • Proceed doing the same for the next two pages and you’ll arrive back at the top.
  • Tie another knot at the top.

Knots at top and bottom


    • To avoid pages slipping, cover the ribbon binding with frame and hand-made paper.
    • Thread beads to the ribbon. The beads should have large holes to go through the ribbon. Tie a knot at the end of the bead.


    Fun to make, put the book in an Easter Basket! Plus fun to keep for a little diary or journal.