Showing posts with label workshop. Show all posts

Friday, November 3, 2017

To Outline or Not To Outline - Watercolor


Since many artists use calligraphy with sketches and watercolor, I took a weekend workshop recently at the Watercolor Art Society-Houston (WAS-H): Pen, Ink and Watercolor, for all levels, given by Joan Hughes.


On the first day, after getting our tube paints, plus flat and round brushes arranged, we got to work right away, no student introductions, no preliminaries. 


We started by tracing Joan's sketches on large light boxes. 
The first sketch was an apple, carrot and onion. After tracing with pencil, we used our Micron pens to cross hatch, make squiggly lines, not to show too much and no outlining! Then we could watercolor very lightly.


The second sketch was a fluffy cat, no outlining here! Still needs work. 


The third sketch was more advanced, a chair with end table, lamp, plus frames on the wall, mon Dieu! I worked and worked on mine, then Joan came over and made suggestions. I’m OK with how it came out.


Joan was not in favor of outlining. I could tell because she kept saying, “No outlining!” to all the students. 

In the Houston Calligraphy Guild Retreat in May, see my blog about that, here, the artist Shirl Riccetti told us to outline each sketch we made. 

So I was fully flummoxed!


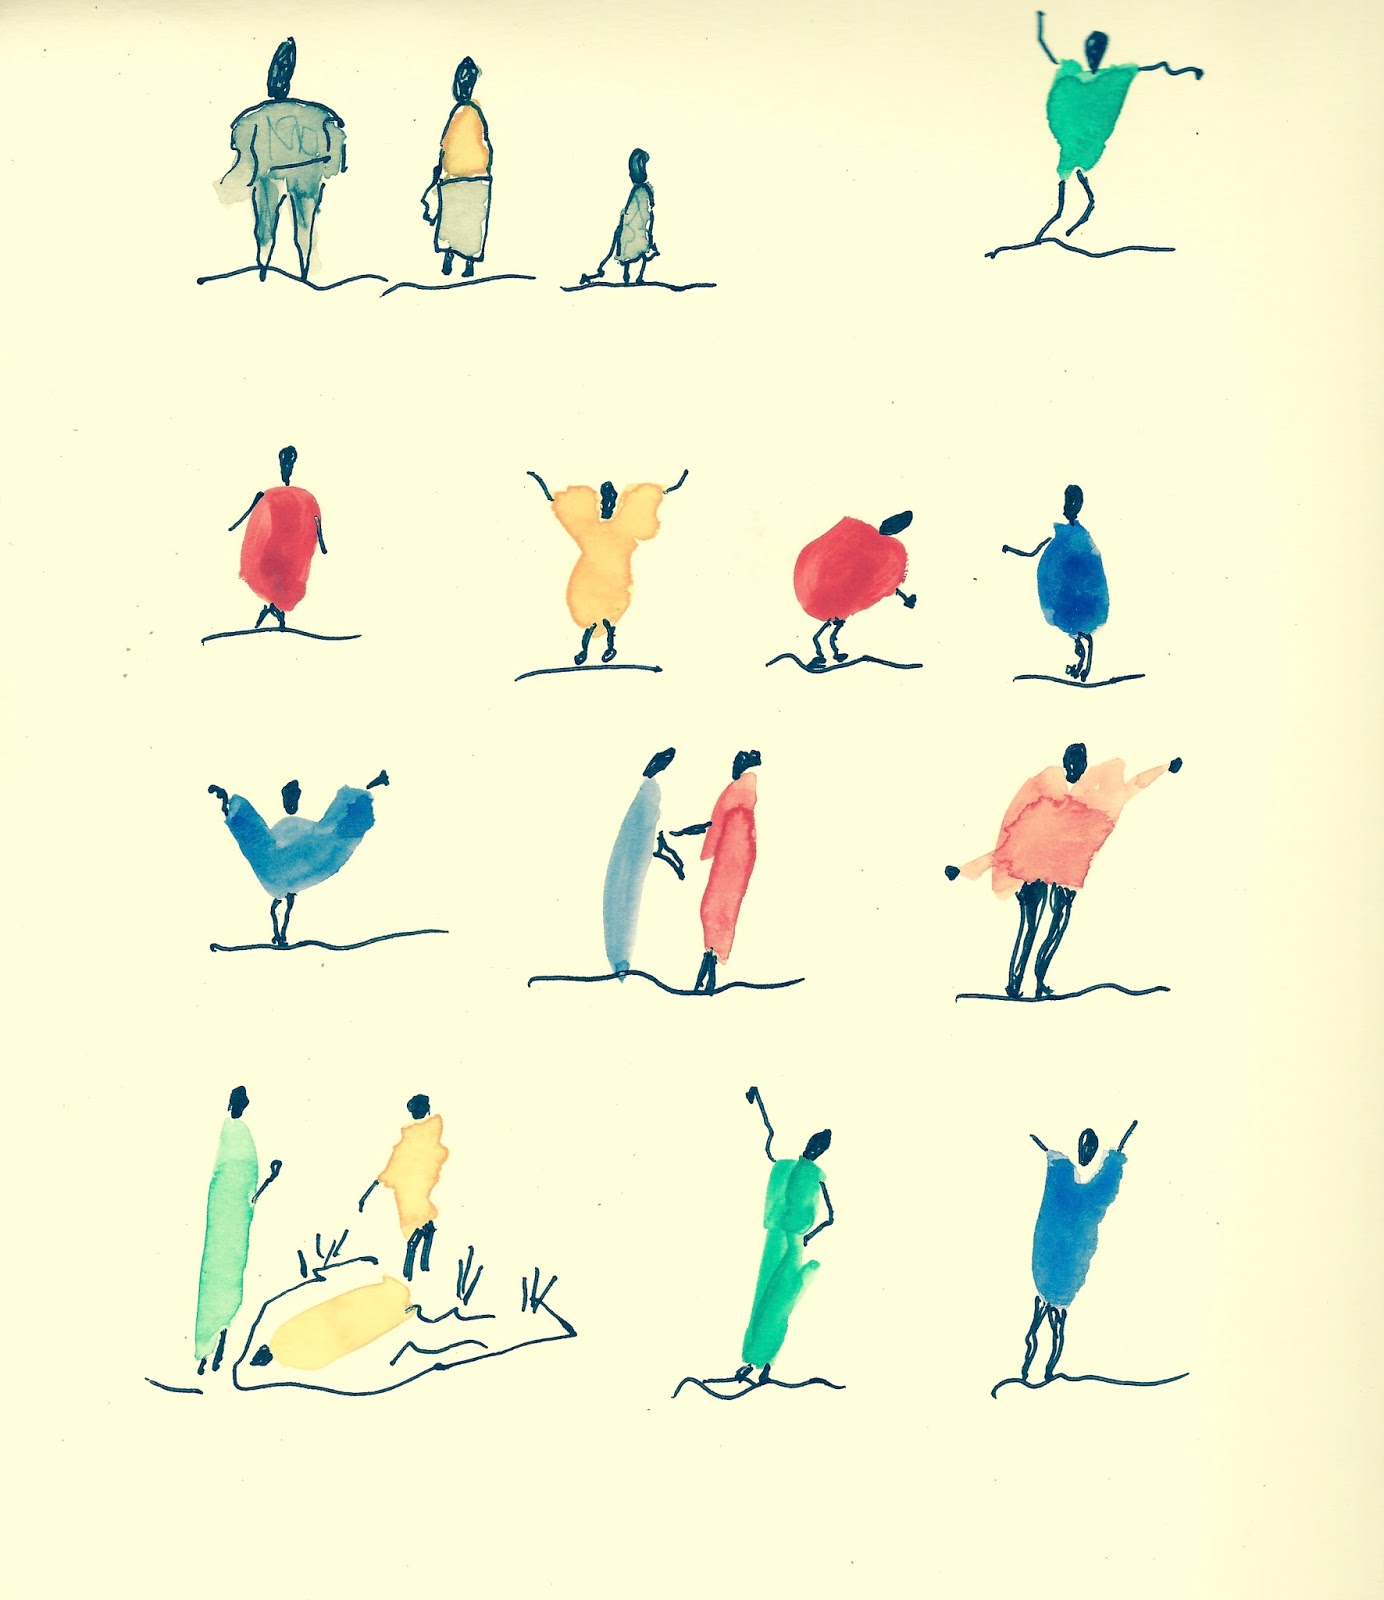
Next Joan demonstrated how to use a flick of color to paint bodies for people. I loved these! I thought I was rather good at it too - I went wild making those little background people.


We sketched other people too and I was told by Joan, “Oh, you outlined!” Joan painted the hair on the middle person.

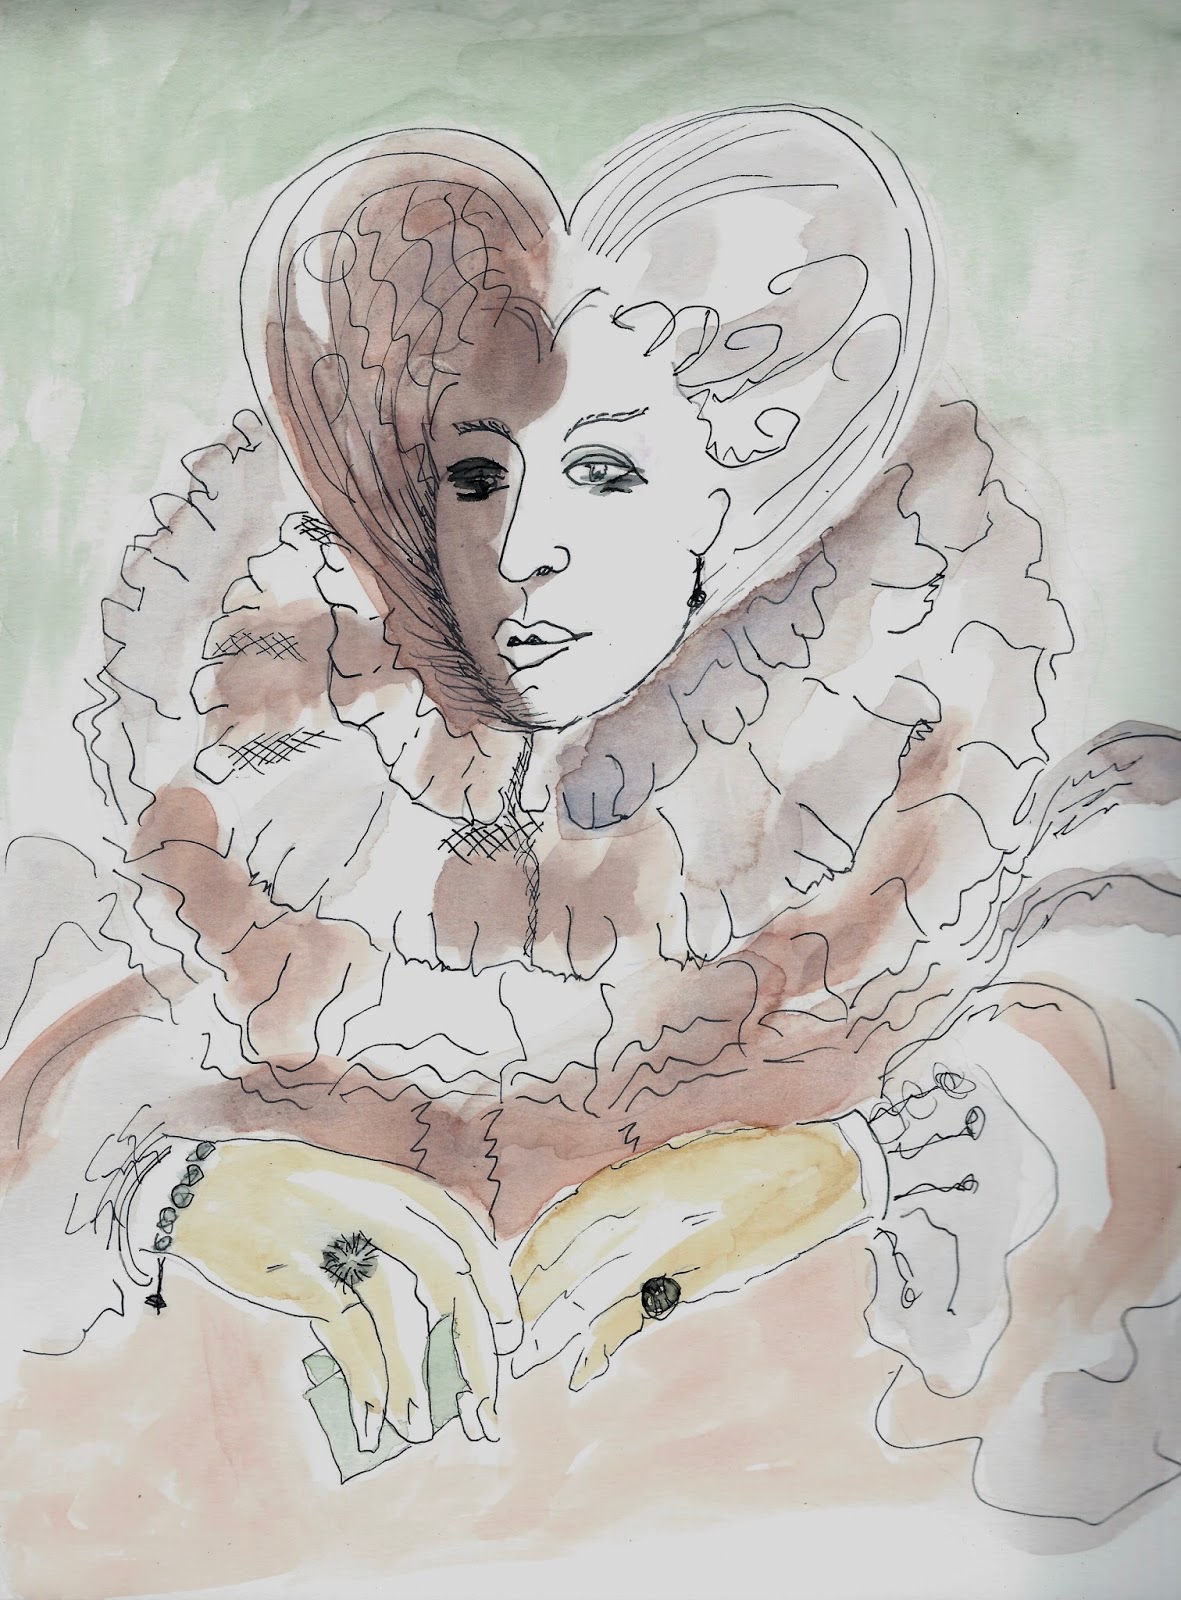
Other than the sketch samples, a handout of a grid of textures reminded us what to use instead of an outline.  I made use of that when we sketched and watercolored Queen Elizabeth on the second day of the workshop.


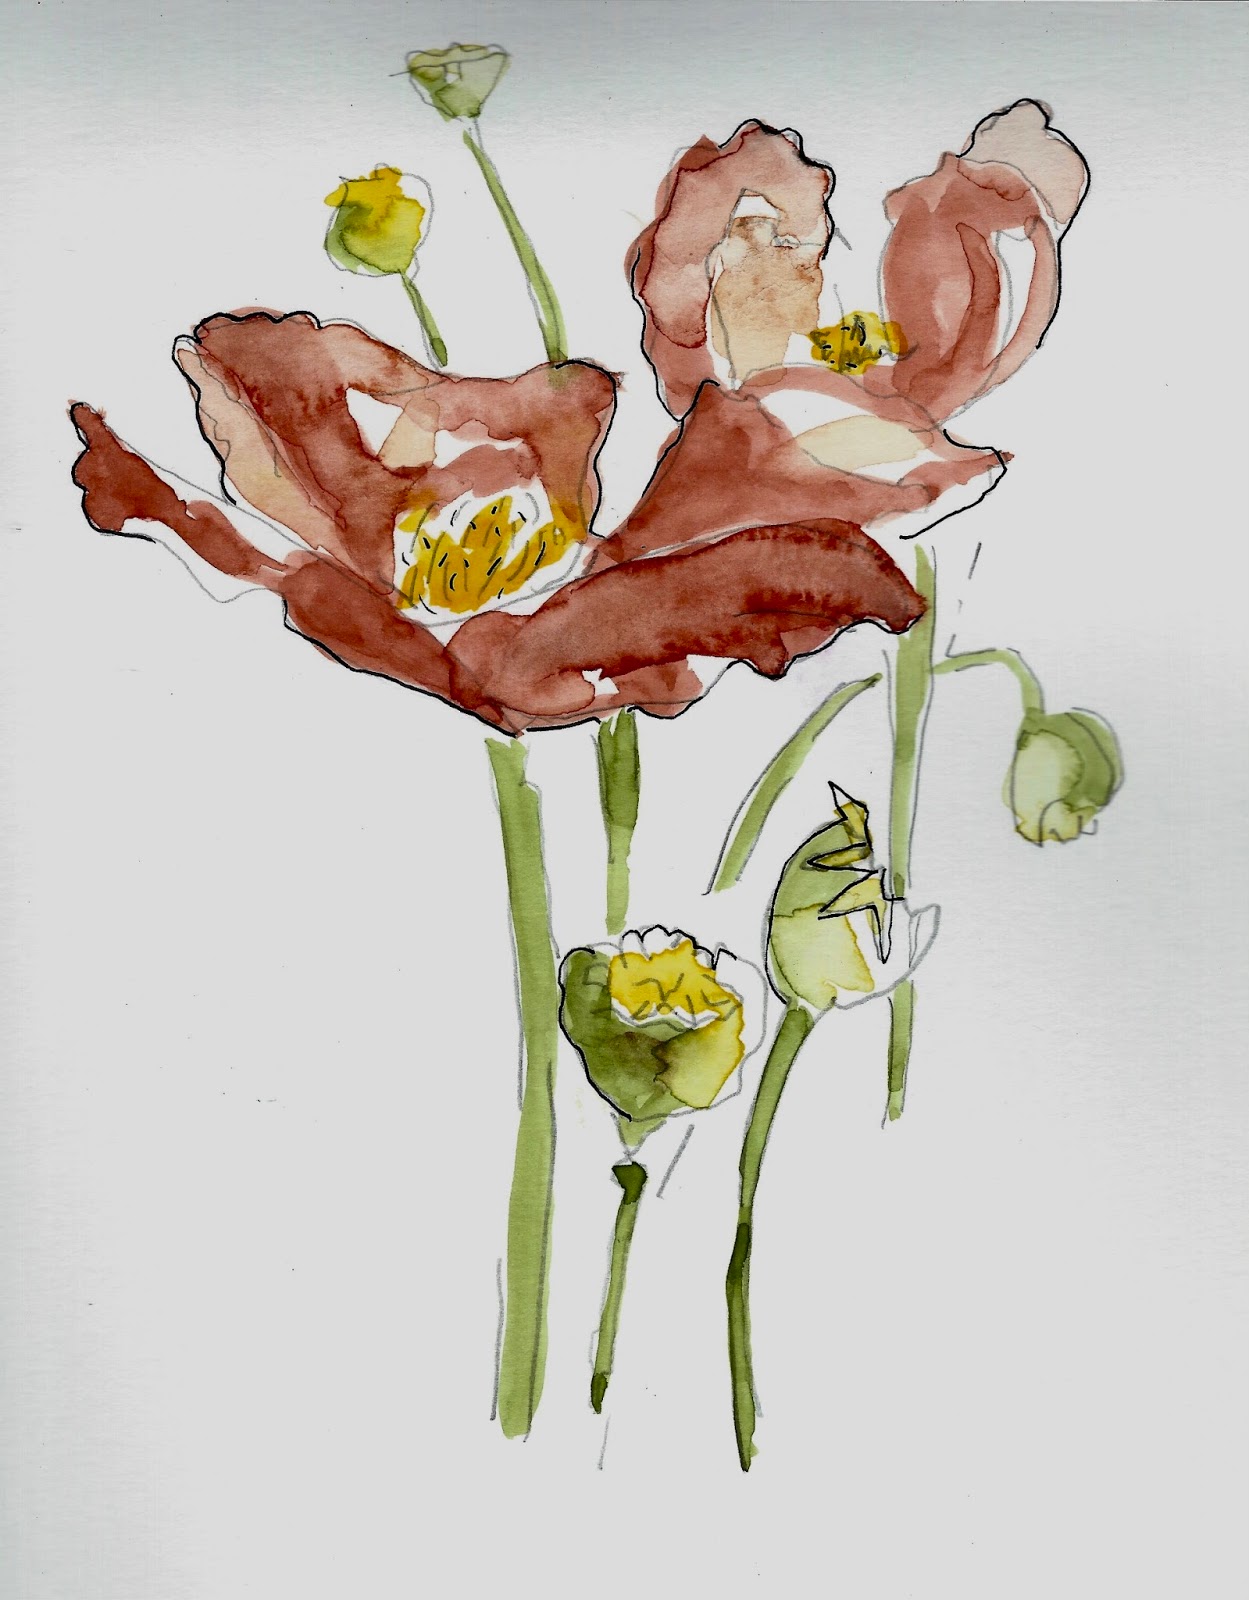
Next we traced Joan’s sketch of a poppy flower. By this time, Joan was telling us to watercolor before we used our Micron pens, so we would not outline too much. My flower remains unfinished. Maybe I’ll play with it again one day or leave it this way.


We finally sketched and painted a couple of windows and doors on the afternoon of the second day. 

In the ad for the class was a sketch and watercolor of a building so I thought that was what we would be doing, for the most part.

An hour before the class ended we traced the sketch of The Alamo, Joan demonstrated watercoloring the sky. Mine remains unfinished. 

Since WAS-H is across the street from The Menil Museum, I walked over there after class and enjoyed myself while looking at the Surrealist paintings.

All in all , it gave me a glimpse of how another artist works. But I still like outlining. Please let me know if you have any thoughts on the matter: To outline or not to outline.
©Anne Rita Taylor 2017

Friday, October 20, 2017

Easy Pencil Calligraphy

All pencil work except "City" as noted below, is artwork by Anne Rita Taylor, enhanced by filters.

Last Saturday I led a presentation at the Houston Calligraphy Guild with a few techniques from Amity Parks workshop at the Legacies II Calligraphy Conference in 2014, called Graphite Techniques. Graphite, otherwise known as pencil lead, is a mixture of carbon and clay, not lead.

The #2 pencil is considered 2B or an HB combination. A hard graphite results in a light grey - H for Hardness. Soft lead is darker, B for Blackness. 


My handout has the four techniques I demonstrated. We started with drawing shades with any pencil, from light to dark. This is called the VALUE of a color, so you learn how to vary your pressure while using a pencil.


Next was an exercise for a Cross Contour, that makes words pop and look three dimensional as you can see on my handout with the words JOY and PLAY.


Two tables were set up for hands-on play: one with graphite sticks. You can cover a large area with graphite, then use an eraser to write into it. A famous artwork using powdered graphite is “City” by Ed Ruscha, made in 1967, held in The Broad, a contemporary art museum in Los Angeles. 


The other table had water-soluble graphite sticks. Also cover a large area, then write with a paintbrush wet with water. Or use the graphite as watercolor where I wrote: Believe, with the quote above.


A big difference is graphite can be erased, but the water-soluble graphite cannot be erased as easily. Water-soluble graphite mixed with water is an ink wash, like painting with watercolor except it looks like pencil markings. Fun to spray water on a quote made with water soluble pencil, comes out like this:


All in all, I think 40 calligraphers enjoyed a few techniques I learned in Amity Parks workshop. And I can’t wait to take her next workshop in March when she comes to Houston to teach Mixed Media. What do you think about pencil calligraphy?


Varied my writing pressure using a #2 pencil, plus brushed on water soluble graphite.
©Anne Rita Taylor 2017

Friday, November 18, 2016

Nag Hammadi Bookbinding

Leather books were found in the Upper Egyptian town of Nag Hammadi in 1945 with Coptic writing from the 4th Century, one containing the Gospel of St. Thomas; housed in the Coptic Museum in Cairo.
From The Archaeology of Medieval Bookbinding by J.A. Szirmai
In a Nag Hammadi Bookbinding workshop I learned how to make the book from Jana Pullman at the Focus on Book Arts in Oregon. We created a replica using tooling techniques on the leather cover. Jana referenced this book: The Archaeology of Medieval Bookbinding by J.A. Szirmai.

I cut the outline from a piece of leather, and wet it to emboss the design with a butterfly leather stamp from Tandy Leather

I used my Japanese Book Drill for the turquoise mat board to show through the design.


In the class we glued several papyrus sheets to make the cover boards. At home mat board worked - covered with bookcloth - adhered to the back of the leather.

The outer side glued first, then the top and bottom tabs. I was going to cover them with end sheet fabric - decided to leave it open. 


Next I used my new sewing cradle bought from Missy Bosch last week. I love it! 


Missy sells them on Etsy here:

Lastly, I hole punched and sewed the tie plus sewed the text block to the spine with tacket binding making the text block refillable. I am pleased with how it came out too! 
Making the Nag Hammadi did not take me as long as I thought it would. The most time-consuming part was embossing the wet leather. I made additional books with red leather and blue leather covers - for sale on my Etsy site: www.ARTbooks.Etsy.com
Please let me know if you tried any type of historic bookbinding. Makes me feel connected to the 4th century!

Friday, October 28, 2016

The Workshop Experience


Not too far from my home I have book-binding and calligraphy workshops. Houston is the 4th largest city in the US, with many workshops each year or semester-long classes too. 

My thoughts on how to enjoy excellent art or craft workshops:

---Teacher attributes:
  • Handout with good instructions for what we are doing.
  • Thoroughly qualified - can respond intelligently to questions.
  • Shares about their background, perhaps with photos.
  • Provides samples of past work & samples of what we are doing.
  • Gives individual attention besides the group discussion.
---Group conditions:
  • Minimal amount of supplies needed; I’d rather have a supply fee than lug supplies.
  • Ease of participants talking quietly, but not too noisy either.
---Space:
  • Enough private area in front of each student.
  • A comfortable seat (I also bring a pillow).
  • Not too cold and not too hot inside (I dress in layers).
Wonderful book-binding workshops are taught at The Printing Museum, either paid classes or at meetings of the Houston Book Arts Guild which meets there too.

About 3 or 4 calligraphy workshops each year are sponsored by The Houston Calligraphy Guild; we have teachers from Belgium to California coming in to teach.

Please let me know your thoughts about workshops; what works for you?
©Anne Rita Taylor 2016

Friday, September 9, 2016

Lettering Text & Texture

Creating experimental calligraphy pages during a three day workshop with Yukimi Annand - from the Los Angeles area - was so much fun! Please try some of these suggestions.

Start by using Sumi ink with increasingly larger pieces of balsa wood to make marks and write the alphabet. My 12 x 18 inch paper from Hobby Lobby, has 60 sheets: multi-media art paper for less than $10.


Yukimi handed out about 20 instruction pages, with quotes taken from a book I own and love: Wabi Sabi

Quote by Claude Monet: The richness I achieve comes from nature, the source of my inspiration.


Try making one letter in many different ways. And then try a whole alphabet using the stick letters.


Use brushes with rags attached playing with Yukimi’s favorite colors: FW Acrylic - Payne’s Gray and Burnt Umber.

Create abstract pieces, work with Dr. Martin’s Bleed Proof WhiteThe third day we put our book together: one-sided pages with glue stick covered with folded black Arches paper. Each person took center stage to show how we worked.

Fun to play! Class photos below taken by Yukimi Annand.


At home I played with one of my pieces to add some color with Prismacolor pencils.
I would love to hear from you - any questions or how you enjoy experimenting with your lettering, making marks, text and texture.
©Anne Rita Taylor 2016

Friday, July 22, 2016

My Bookbinding Workshop

©Anne Rita Taylor 2016
I went to a Golden Paint demo at Art Supply on Main in Houston earlier this year. When Vikki, the co-owner, found out about my blog, she asked me to teach a book workshop; during May we set a date for the workshop: Saturday, July 16th.
My favorite binding is the French Link Stitch. I made a sample book, composed my own instructions, took a few photos and sent the draft flyer to a couple of friends for their advice. 


E.J. said cost stand alone from supply fee; the total was listed. Debbie gave me paper from India; no charge to my students. I added paper choices to my flyer.

I handed out 30 flyers at the Houston Calligraphy Guild Summer Study meeting. Also sent my flyer to The Lone Star Art Guild added to their weekly emailed newsletter.
Four people registered by the Wednesday before the workshop! I started tearing a few sheets of my Arches Text Wove for my demonstration book, as I wanted to use three sheets divided into eight pieces. Vikki let me know she was out of Arches but had Rives.
Five were registered by Thursday! I used up my own supply of Arches Text Wove, and Vikki supplied Rives BFK Lightweight. Multi-Media art paper suitable for wet media from Hobby Lobby rounded out the text paper. It took ink and watercolor beautifully.

Before the class I cut: paper for the covers, end sheets, inside paper folios showing at the spine; plus I tore the Arches and cut the Multi-Media paper.

The students used eight pieces of each of the three types of paper. And divided them into three folios in eight signatures to have a total of 96 pages (both sides). The students tore two half sheets of the Rives Lightweight into quarters to get into the bookbinding groove.

In the class: we covered the boards and hole-punched the signatures in the morning; sewed the text block in the afternoon. Lastly, we glued the end sheets to add the covers and glued the tapes to the cover.
The five hour class on Saturday went very well especially since four out of five students were first-time bookbinders. Everyone loved their books! It was a lot of fun!