Showing posts with label handmade. Show all posts

Friday, September 2, 2016

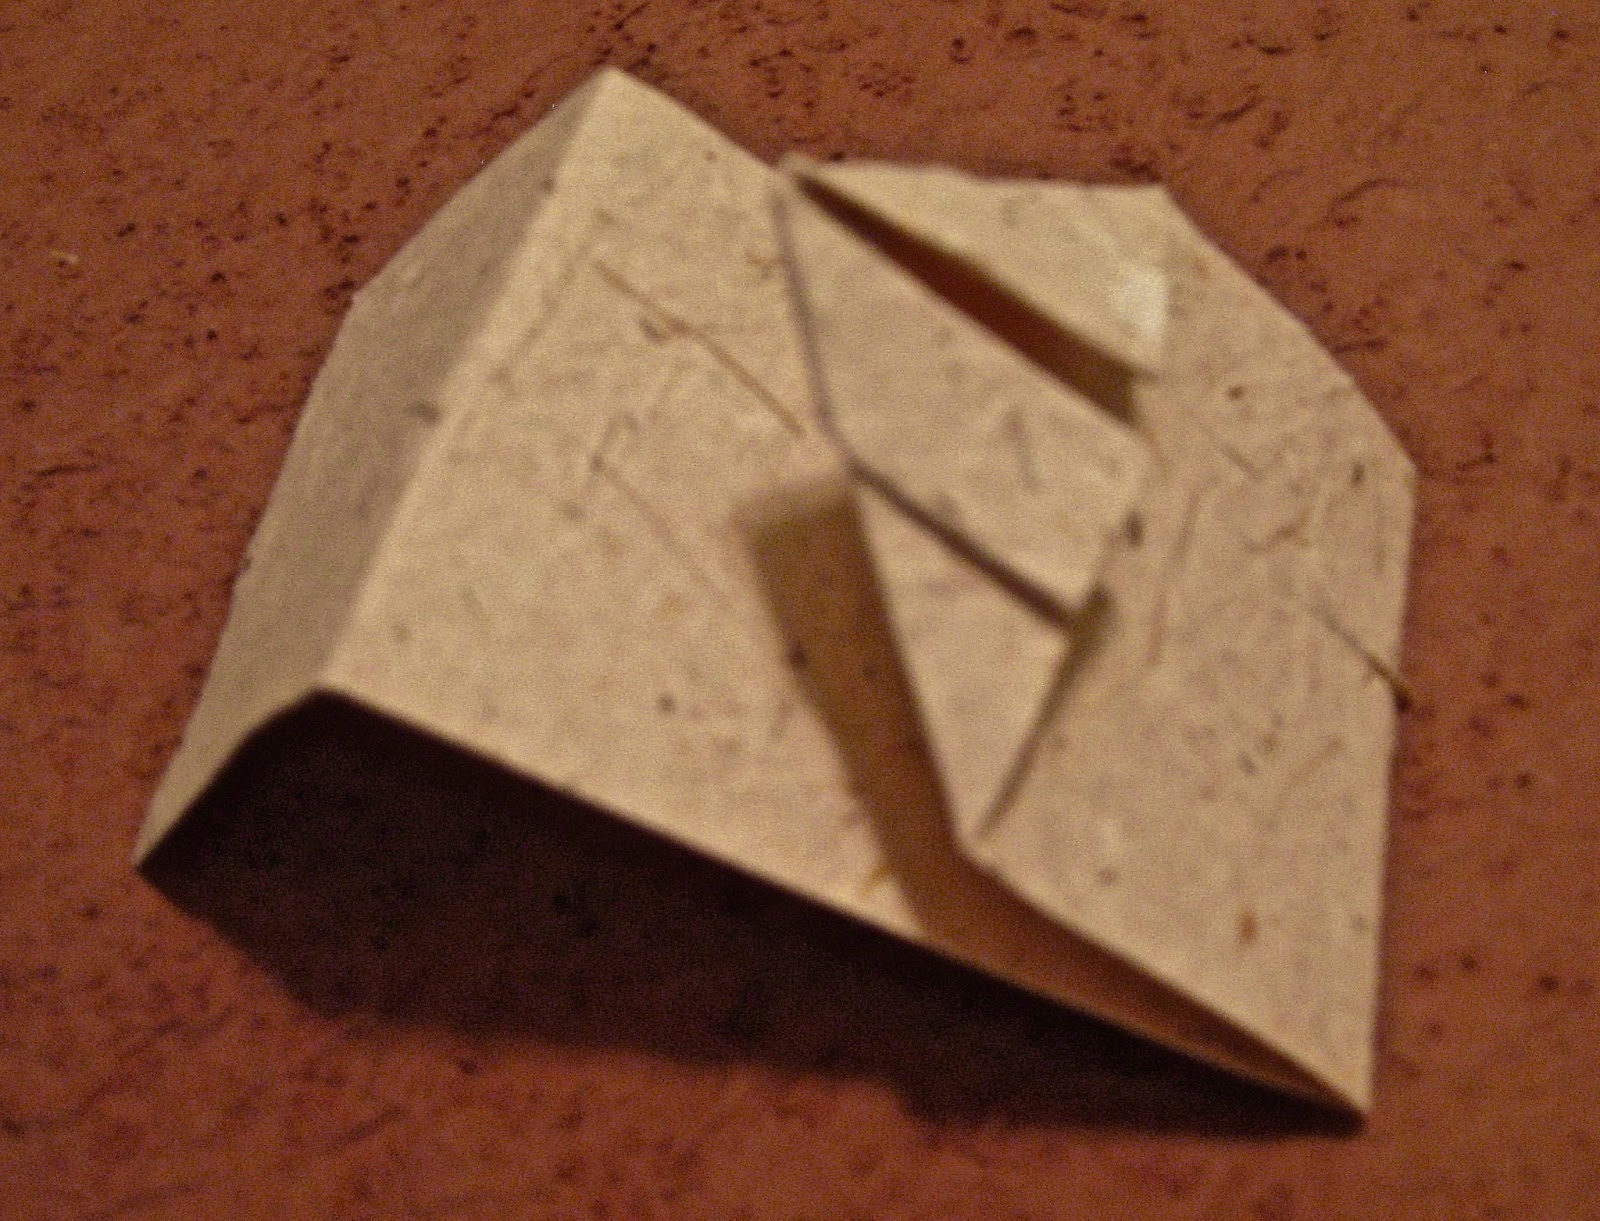
Creating a Clamshell Box

I finally made another Clamshell Box! I learned how to make a Clamshell Box in an Austin workshop in 2012. I made another box from the pre-cut boards as soon as I arrived home.

A Clamshell Box is a custom made case for historically important books in museums or libraries, offering protection against light, wear and tear.

This week I made my box from start to finish: cutting the boards, gluing; making sure my book fit the box. I gathered my supplies:
right edge ruler, plus smaller ruler to get in tight spaces
scissors
bone folder
pencil
brushes
PVA glue
Davey board - thicker than mat board
Not pictured: 
X-Acto razor, 11 blade to cut board - I use my CARL Cutter to cut smaller pieces
paper or book cloth to cover your box

First, I measured my Link Binding Book: 6 5/8 x 10 1/4 plus the depth is 1 inch. I needed 11 pieces of board: the lower tray does not fit the book perfectly since 1/8 inch of the board thickness, two on the length and one for width, are added. The top tray goes over the lower tray plus 3 sides - remember the 1/8 for all the sides, then 3 boards - looks like a cover for a book. 

The sides are glued on top of the tray. Then roll the glued sides of each tray on the paper. Remember that your finished box will depend totally on the size your book. Mine was 10 3/4 by 6 3/4 for the lower tray. And 11 x 7 x 1 1/8 for the upper tray.

I used the paper Debbie gave me for my July workshop, 1 1/2 sheets of  20 x 30 inches. My order of gluing after rolling the sides: bottom back, front tray sides, top sides, then top back.

Remember to cut the sides in v shapes so your paper is not clumped up. It really is fold over, measure and cut as you go. Your amount of paper will depend on the size of your book.

I made the books for the Austin Clamshell Boxes to fit inside. I recommend making a box for your book instead. My recent box took hours to make but was a fun challenge too. 
Let me know if you have questions and be sure to tell me about your experience with making boxes for your books.

©Anne Rita Taylor 2016

Friday, July 29, 2016

Window Accordion Book

©Anne Rita Taylor 2016
I wanted to combine handmade paper with a Zig Zag book plus my carved images to make a gift for a friend going through health issues. I wrote some encouraging words alongside the printed images for her.
Supplies:
Handmade paper - 5 pieces:
1 x 7 inches, (2) 4 x 5 inches, (2) 2 1/2 x 6 inches
Arnold Grummer Mini Zig Zag Books
PVA or Mod Podge glue
Bonefolder, scissors, ruler
Carved images or rubber stamps
The Zig Zag book has 6 sides, begin by cutting slits on the 2nd and third side, then the 4th and 5th side, cut into one and 1/8th inches, leaving a half inch on the top and bottom, as pictured:

Fold in where you made the cuts to form your window, as pictured:

Paint the Zig Zag inside the covers and top and bottom with Tim Holtz Distress Stain: Peeled Paint. Adhere both 4 x 5 inch paper pieces to each cover.
Glue two pieces of 2 1/2 inch by 6 inches handmade paper together forming a long strip 2 1/2 by 11 1/2 inch piece. Print your rubber stamps in front of the openings, the windows. Glue 1 1/2 inches of each end inside the covers, and fold with the book.
Lastly, to make the band, fold around your closed book the 1 x 7 inch handmade paper and glue the overlapping half inch, not too tight because you want it to slide off.
Your gift is ready to write your heartfelt wishes inside for your recipient to enjoy!

Friday, July 15, 2016

Envelope Accordion Book

©Anne Rita Taylor 2016
I wanted to give some suggestions to my friend who was traveling this summer. My envelope accordion book was fun and most appreciated!
Supplies:
Handmade paper - 2 pieces 4 x 5 inches
Ribbon, 18 inches 
PVA or Mod Podge glue, and Scotch tape
Magazines or calendars

Begin by folding the inside of the four accordion pages in half, so now you have eight sides plus the two covers which are not folded.
Making the envelopes: I used flower pictures from Martha Stewart’s Living magazine. I made my template to fit the 3 1/2 inches accordion page. Before gluing up the bottom and sides, it is 4 1/4 inches tall by 5 inches wide.


After you have four envelopes, place glue on half of the front of each envelope. 


Then glue each envelope to the half accordion page.


Instead of writing my own travel advice, I used four of the cards from the pack of Travel Tips, available on Amazon HERE.


You can take out your favorites, I decided on cards about safety, communicating, sleep, and being wary. Copy them and place them in the envelopes, making sure they fit and could be taken out easily.


Glue your handmade paper pieces to the covers. Before you glue the covers onto the book be sure to tape the middle of your ribbon to the back.


Add your handmade paper covers and you have a pretty Bon Voyage gift!


Friday, June 24, 2016

Origami Kimono

©Anne Rita Taylor 2016
I love these Origami Kimonos - I have used them on greeting cards for birthdays, anniversaries, thinking of you plus bookmarks and place cards at dinner parties.
Supplies:
Handmade paper 2 inches by 7 inches

The handmade paper I used - from a 5 by 7 inch screen - I cut off the lovely deckle edges since the Kimono looks better with straight edges and is enough for two Kimonos.
  1. Fold top 1/4 inch and fold over again - this is the start of the all important collar.
  2. The middle of the top - where you folded - is 1 inch and fold down from this mid point to make the collar.


3.   Measure 2 1/4 inches from the top and fold back.
4.   Measure 4 3/4 inches from the top and fold back again as in photo.

5. Fold sides up to collar areas, as pictured.
6. Tricky part! Fold top of each side to make a hood as pictured, helps to put your finger inside the fold.               


7. Fold back so top of collar is visible 1/4 inch, here is the back.
8. See the front!  Fun to make with Origami or Marbled paper too.

Once you make one, you will want to make a bunch!


If this was helpful, please let me know what you think in Comments below.

Friday, May 20, 2016

Bookbinding in Los Angeles

©Anne Rita Taylor 2016

I like to take a class when I travel. I found Charlene Matthews Bindery in Hollywood when I visited Los Angeles during Halloween 2010. We emailed to come up with a day when she had a workshop. Turned out I was the only student!


Charlene’s bindery is a storefront on Melrose Avenue where you can see the famous Hollywood sign. Charlene has bound books for movies such as Indiana Jones. We had a whole day - including lunch - of bookbinding. I was in heaven! 


Charlene showed me around her fabulous shop and asked me what I’d like to learn. Even though I was bookbinding for a while I look for alternatives to use. Charlene let me know she was using something new: a fine mesh screen-like material for pages and covers. 


Charlene demonstrated, covering the fine mesh with paper; we each made covers. We made the spine pieces, figuring out which paper to wrap around them; we hole-punched the signatures using lovely watercolor paper, and sewed the text block through the mesh onto the spine.


Since I made two spine pieces Charlene suggested I make another book with a leather wrap-around cover. I learned that the thread does not need to go through every station (hole) that was punched. It was a revelation to me!


I love these variations of the Tightback Longstitch Bindings taught by Charlene. I had not used spine pieces before and the books open flat for art journaling.


Charlene sent me home with some of that fine mesh material which I’ve since found at Ace Hardware. Recently I bought a whole roll of it and I'll use it too.  

Friday, April 29, 2016

Traveling Skewer Book

©Anne Rita Taylor 2016

Taking a trip by car, boat or plane? During down time - you can think great thoughts or have interesting conversations with Questions from the Traveling Skewer Book.

Supplies:
Two pieces of wrapping paper or handmade paper - 5 1/2 by 8 1/2 inches
Two pieces of color coordinated paper -  5 1/2 by 8 1/2 inches
2 pieces of ribbon - 15 inches each
Twelve questions to ask while traveling - see below.

Prepare two signatures: 
One piece of handmade paper and one piece of coordinated paper each.
Punch holes in both signatures an inch from the top and bottom.


Place a skewer inside each signature.
Thread the ribbon from the outside into the first signature, around the skewer and out.
Repeat for the second signature using the same ribbon.
Snug up the ends, creating a tight tension.
Tie a knot, make a bow.
Repeat for the other hole.
Snip sharp ends of the skewers.

Use double sided tape to adhere
your questions, such as:
What do you daydream about?
What are your favorite crayon colors?
Did you have something funny happen on a trip?
Which author living or dead would you like to meet?
What would you like to sell in a TV commercial?
What do you miss the most when away from home?


What was your all-time favorite vacation?
If you opened a restaurant what is your house specialty?
What's your favorite fast food meal?
Which would you give up - if you had to - pizza, hamburgers or hot dogs?
What would you perform in a talent show?
Would you rather live in New York, Los Angeles, Chicago or San Francisco?


Actually I prefer Houston, Texas!

Skewer Books are quick to make! Interesting quotes you find make a nice gift too.