Showing posts with label handmade paper. Show all posts

Friday, July 29, 2016

Window Accordion Book

©Anne Rita Taylor 2016
I wanted to combine handmade paper with a Zig Zag book plus my carved images to make a gift for a friend going through health issues. I wrote some encouraging words alongside the printed images for her.
Supplies:
Handmade paper - 5 pieces:
1 x 7 inches, (2) 4 x 5 inches, (2) 2 1/2 x 6 inches
Arnold Grummer Mini Zig Zag Books
PVA or Mod Podge glue
Bonefolder, scissors, ruler
Carved images or rubber stamps
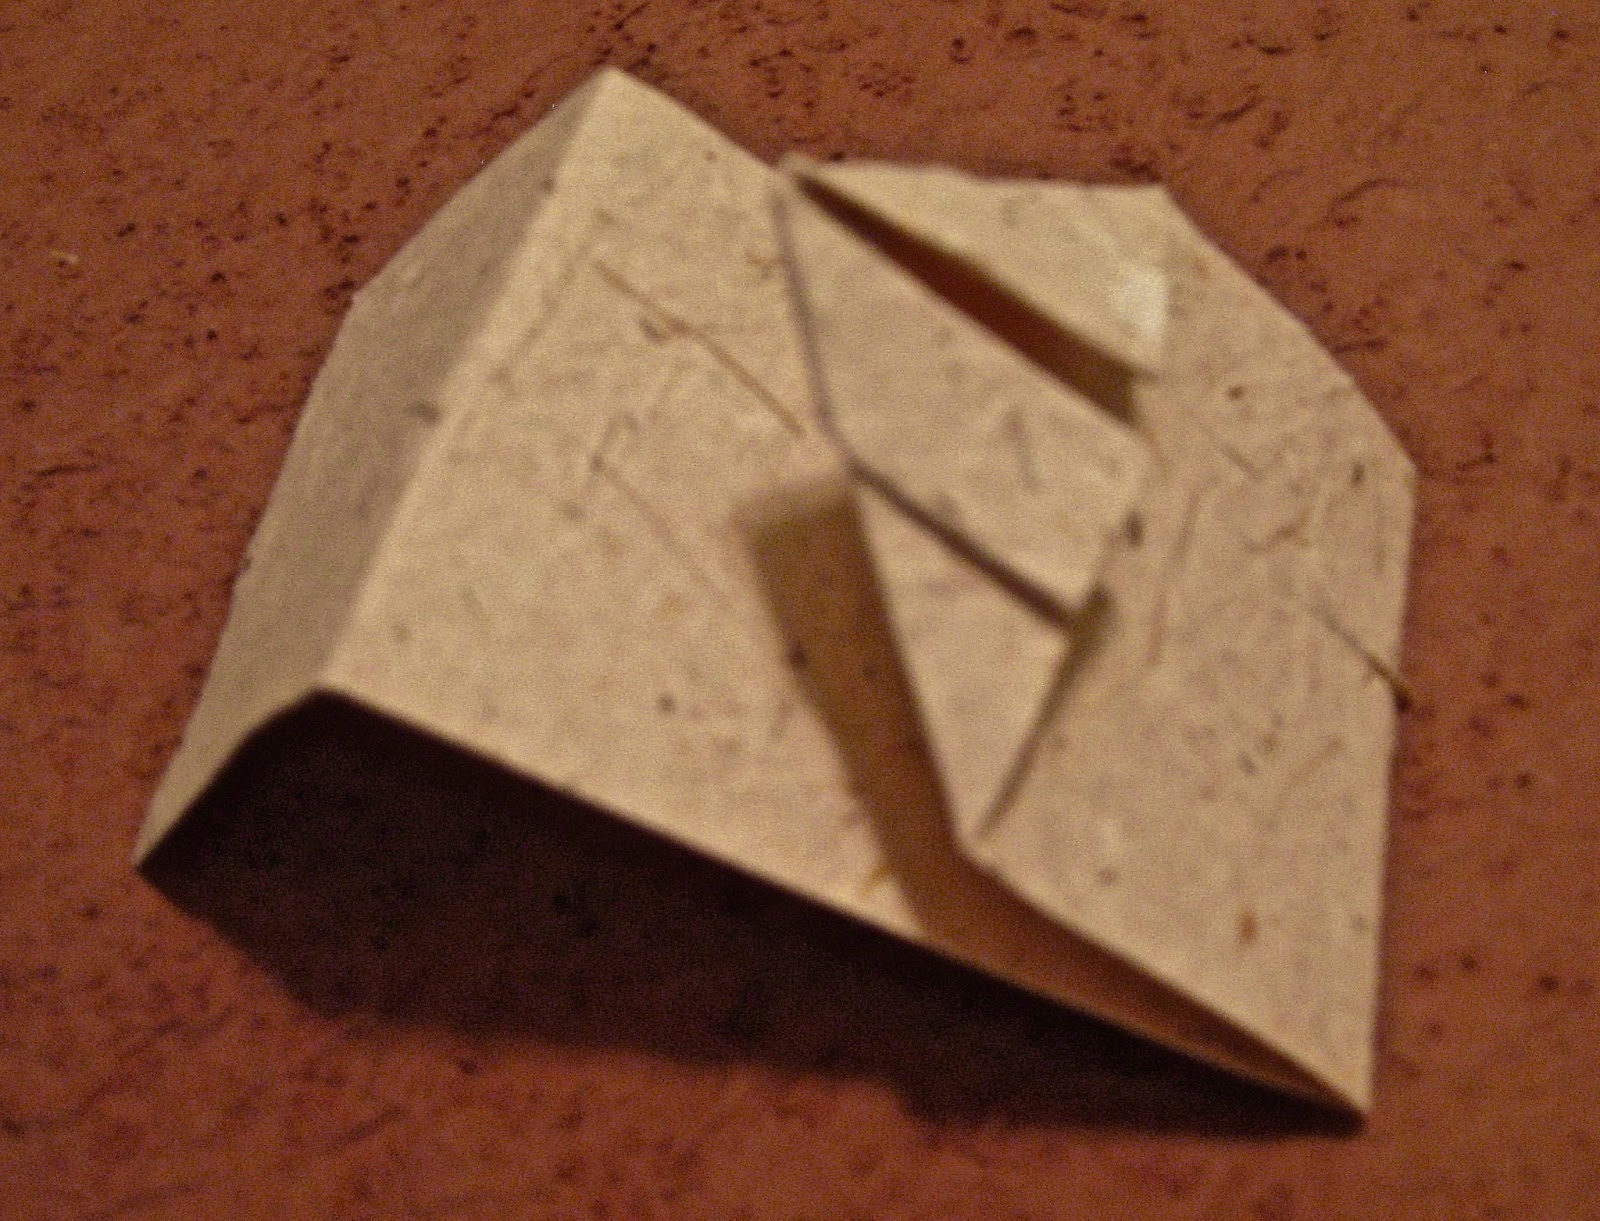
The Zig Zag book has 6 sides, begin by cutting slits on the 2nd and third side, then the 4th and 5th side, cut into one and 1/8th inches, leaving a half inch on the top and bottom, as pictured:

Fold in where you made the cuts to form your window, as pictured:

Paint the Zig Zag inside the covers and top and bottom with Tim Holtz Distress Stain: Peeled Paint. Adhere both 4 x 5 inch paper pieces to each cover.
Glue two pieces of 2 1/2 inch by 6 inches handmade paper together forming a long strip 2 1/2 by 11 1/2 inch piece. Print your rubber stamps in front of the openings, the windows. Glue 1 1/2 inches of each end inside the covers, and fold with the book.
Lastly, to make the band, fold around your closed book the 1 x 7 inch handmade paper and glue the overlapping half inch, not too tight because you want it to slide off.
Your gift is ready to write your heartfelt wishes inside for your recipient to enjoy!

Friday, July 1, 2016

16th Century Binding

©Anne Rita Taylor 2016

Focus on Book Arts is a conference held near Portland, Oregon offering several days of workshops on bookbinding, calligraphy, paper making, media backgrounds and more. 

Held in odd-numbered years, I attended a few years ago and learned how to make this 16th Century Limp Paper Binding. 


Taught by Jana Pullman, who is an award winning fine book artist. Here is her website, Western Slope Bindery. She has a fabulous blog with several DIY: About the Binding.

I left the insides open so I would remember all that we did in one day!


The Limp Binding was commonly used for prayer books and text books in the 16th century.  We sewed blank books in the workshop. Endpapers can be glued over the front and back sewed thongs. 


This type of binding has been called “simple” but with all the leather pieces going through the covers I find it more on the intermediate side of bookbinding.


We sewed the text block on double tawed goat leather thongs. This type of sewing begins by going out of the sewing station between the pair of thongs.


When I made one at home I made a packed straight sewing on a single cow leather cord.


I learned how to sew a headband onto leather tongs similar to the sewing supports. I had glued ready-made headbands to the top of books before and this procedure was a revelation!


In the workshop we used handmade paper for the covers; at home I used a thick paper from India I found at Paper Source.


I was happy to learn the Limp Binding and am amazed I learned so much in one day!

Friday, June 24, 2016

Origami Kimono

©Anne Rita Taylor 2016
I love these Origami Kimonos - I have used them on greeting cards for birthdays, anniversaries, thinking of you plus bookmarks and place cards at dinner parties.
Supplies:
Handmade paper 2 inches by 7 inches

The handmade paper I used - from a 5 by 7 inch screen - I cut off the lovely deckle edges since the Kimono looks better with straight edges and is enough for two Kimonos.
  1. Fold top 1/4 inch and fold over again - this is the start of the all important collar.
  2. The middle of the top - where you folded - is 1 inch and fold down from this mid point to make the collar.


3.   Measure 2 1/4 inches from the top and fold back.
4.   Measure 4 3/4 inches from the top and fold back again as in photo.

5. Fold sides up to collar areas, as pictured.
6. Tricky part! Fold top of each side to make a hood as pictured, helps to put your finger inside the fold.               


7. Fold back so top of collar is visible 1/4 inch, here is the back.
8. See the front!  Fun to make with Origami or Marbled paper too.

Once you make one, you will want to make a bunch!


If this was helpful, please let me know what you think in Comments below.

Friday, May 27, 2016

Folded Card Holder

©Anne Rita Taylor 2016

A few years ago I made folded card holders to hold techniques to decorate paper. I printed the pen and the fleur de lys, my hand carved images.


Finished size is 5 inches square. Original size of paper: 12 by 15 inches, with 4 inch square cards inserted inside.


When I wanted to give a few cards (Business Cards or Artist Trading Cards) to someone I wanted them in a nice folder. I made the Folded Card Holder with handmade paper and it added that special touch.


Supplies:
Handmade paper, 8 1/2 wide x 11 inches long
Artist Trading Cards or Business Cards


Fold the wide side 1 and 1/2 inches on each side.


Turn over, and fold at 2 and 3/4, and 6 and 7/8 inches.


At the 2 and 3/4 fold - fold in diagonally on both sides.


Tuck the end into the diagonals, then fold in half.


Insert your cards - inside, front, and back.


Friday, April 29, 2016

Traveling Skewer Book

©Anne Rita Taylor 2016

Taking a trip by car, boat or plane? During down time - you can think great thoughts or have interesting conversations with Questions from the Traveling Skewer Book.

Supplies:
Two pieces of wrapping paper or handmade paper - 5 1/2 by 8 1/2 inches
Two pieces of color coordinated paper -  5 1/2 by 8 1/2 inches
2 pieces of ribbon - 15 inches each
Twelve questions to ask while traveling - see below.

Prepare two signatures: 
One piece of handmade paper and one piece of coordinated paper each.
Punch holes in both signatures an inch from the top and bottom.


Place a skewer inside each signature.
Thread the ribbon from the outside into the first signature, around the skewer and out.
Repeat for the second signature using the same ribbon.
Snug up the ends, creating a tight tension.
Tie a knot, make a bow.
Repeat for the other hole.
Snip sharp ends of the skewers.

Use double sided tape to adhere
your questions, such as:
What do you daydream about?
What are your favorite crayon colors?
Did you have something funny happen on a trip?
Which author living or dead would you like to meet?
What would you like to sell in a TV commercial?
What do you miss the most when away from home?


What was your all-time favorite vacation?
If you opened a restaurant what is your house specialty?
What's your favorite fast food meal?
Which would you give up - if you had to - pizza, hamburgers or hot dogs?
What would you perform in a talent show?
Would you rather live in New York, Los Angeles, Chicago or San Francisco?


Actually I prefer Houston, Texas!

Skewer Books are quick to make! Interesting quotes you find make a nice gift too.

Friday, March 25, 2016

Ribbon Book Binding

©Anne Rita Taylor 2016

We had interesting themes when we swapped handmade books online a few years ago. It was always fun seeing what each person made. The books had content, except when we would have a Blank Book Exchange or a How-To Book Binding.


The How-To Book Binding theme always received the most participation! We included the paper and instructions. I sent the Ribbon Binding - pretty and an easy book to make. It requires only 4 pages with a cover, plus a good amount of ribbon. Especially good for using leftover hand-made paper scraps.


Supplies: 
Cover: 5 1/2 by 8 inches, folded in half to 4 inches by 5 1/2 inches
Paper: 4 pages 5 1/2 by 8 inches, also folded in half - I used stationery with roses on the edges
Pretty Hand-made paper: 3 by 4 inches - Paper that I made with flower inclusions
Optional paper for framing the handmade paper on the cover: 2 1/2 by 3 1/2
Ribbon: 4 feet; Double sided tape
Two beads with large holes


Directions:
• Start by wrapping the ribbon around the outside into the inside middle of the cover. Tie a knot at the top leaving 6 inches of ribbon - where you’ll add a bead

  • Fold in one page wrapping the ribbon around the valley fold of the page. Loop through the ribbon at the bottom
  • Fold in the second page and wrap the ribbon, loop through the ribbon at the top
  • Proceed doing the same for the next two pages and you’ll arrive back at the top.
  • Tie another knot at the top.

Knots at top and bottom


    • To avoid pages slipping, cover the ribbon binding with frame and hand-made paper.
    • Thread beads to the ribbon. The beads should have large holes to go through the ribbon. Tie a knot at the end of the bead.


    Fun to make, put the book in an Easter Basket! Plus fun to keep for a little diary or journal.