Friday, October 20, 2017

Easy Pencil Calligraphy

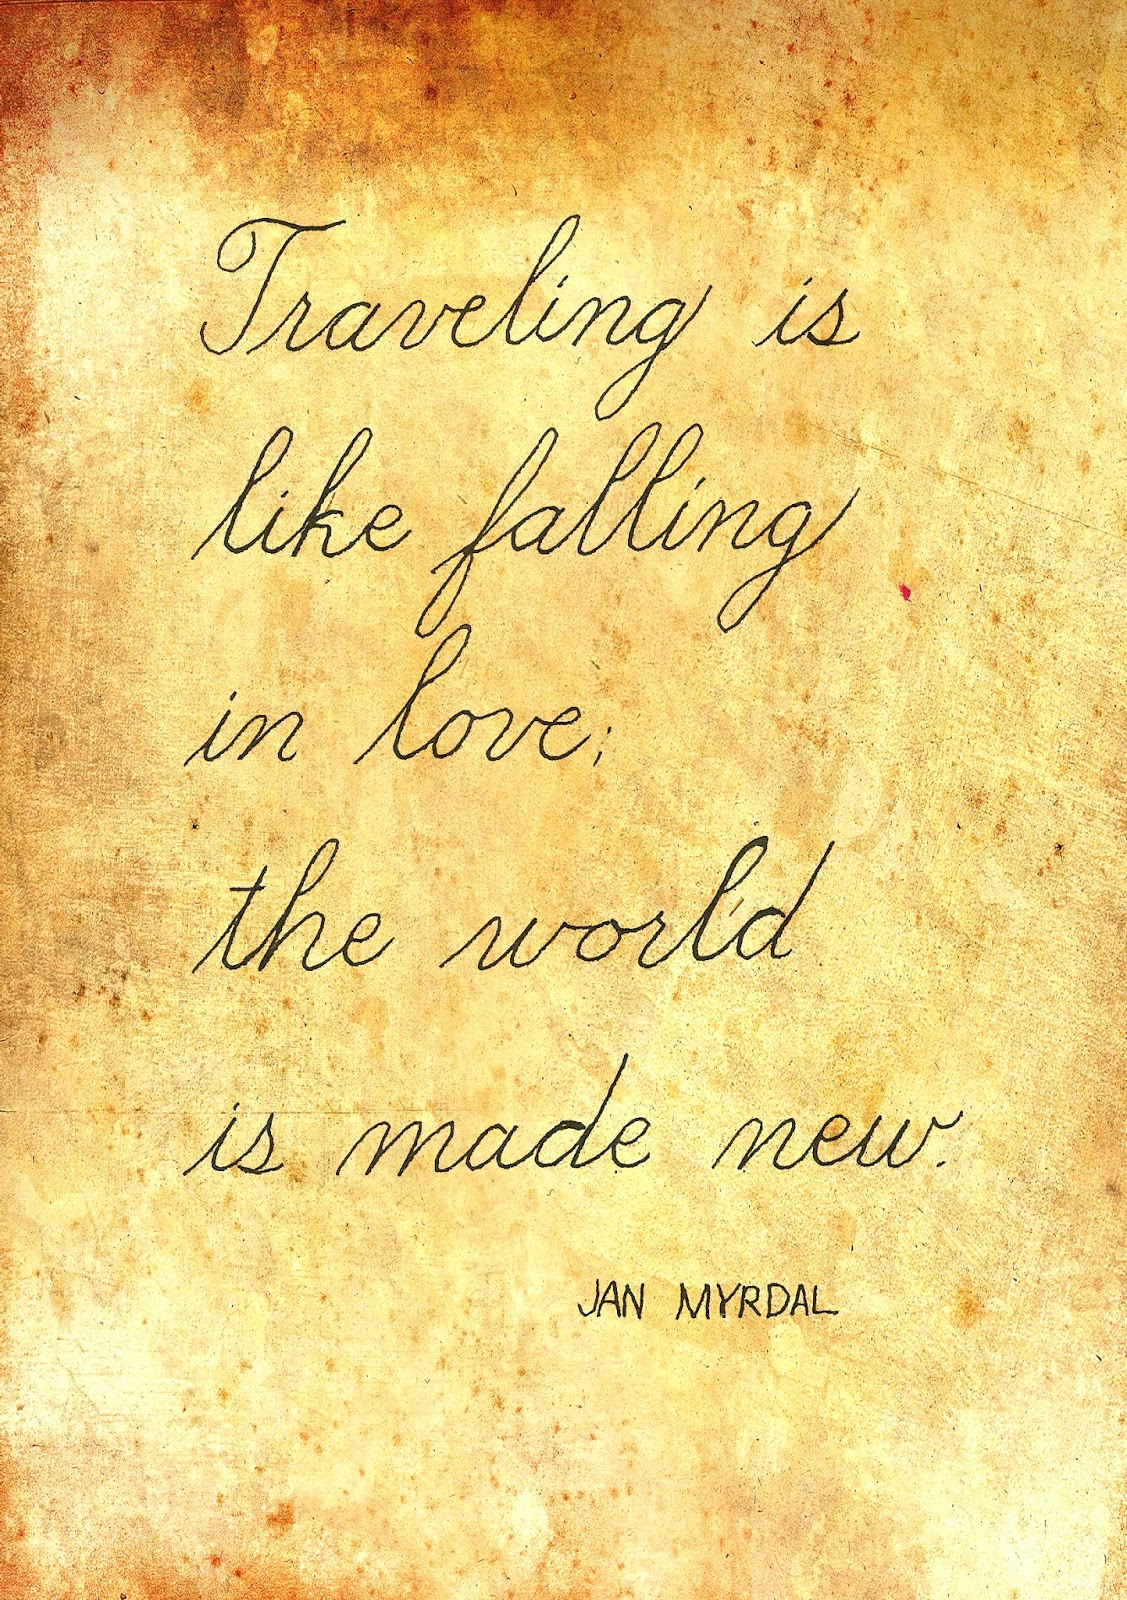
All pencil work except "City" as noted below, is artwork by Anne Rita Taylor, enhanced by filters.

Last Saturday I led a presentation at the Houston Calligraphy Guild with a few techniques from Amity Parks workshop at the Legacies II Calligraphy Conference in 2014, called Graphite Techniques. Graphite, otherwise known as pencil lead, is a mixture of carbon and clay, not lead.

The #2 pencil is considered 2B or an HB combination. A hard graphite results in a light grey - H for Hardness. Soft lead is darker, B for Blackness. 


My handout has the four techniques I demonstrated. We started with drawing shades with any pencil, from light to dark. This is called the VALUE of a color, so you learn how to vary your pressure while using a pencil.


Next was an exercise for a Cross Contour, that makes words pop and look three dimensional as you can see on my handout with the words JOY and PLAY.


Two tables were set up for hands-on play: one with graphite sticks. You can cover a large area with graphite, then use an eraser to write into it. A famous artwork using powdered graphite is “City” by Ed Ruscha, made in 1967, held in The Broad, a contemporary art museum in Los Angeles. 


The other table had water-soluble graphite sticks. Also cover a large area, then write with a paintbrush wet with water. Or use the graphite as watercolor where I wrote: Believe, with the quote above.


A big difference is graphite can be erased, but the water-soluble graphite cannot be erased as easily. Water-soluble graphite mixed with water is an ink wash, like painting with watercolor except it looks like pencil markings. Fun to spray water on a quote made with water soluble pencil, comes out like this:


All in all, I think 40 calligraphers enjoyed a few techniques I learned in Amity Parks workshop. And I can’t wait to take her next workshop in March when she comes to Houston to teach Mixed Media. What do you think about pencil calligraphy?
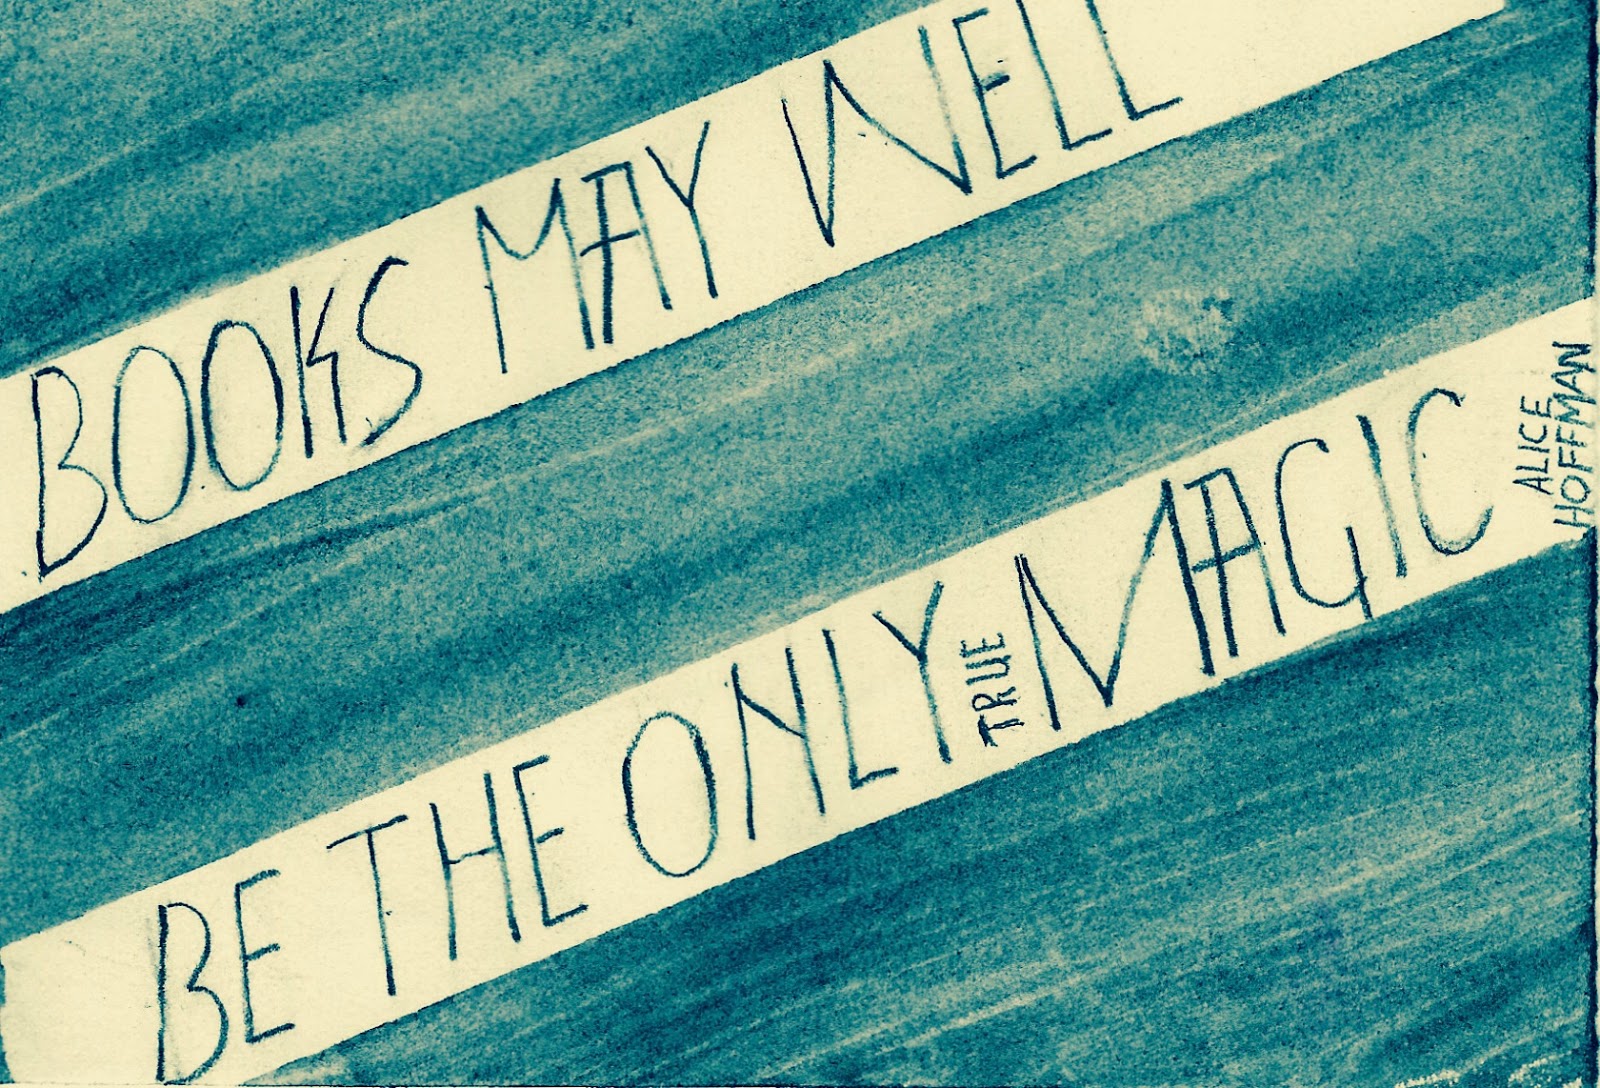

Varied my writing pressure using a #2 pencil, plus brushed on water soluble graphite.
©Anne Rita Taylor 2017

Friday, October 6, 2017

San Francisco Book Arts


The Book Arts Jam, organized by the Bay Area Book Artists in San Francisco is so much fun. Every year, it is a one-day celebration of the book, print & paper arts, now held at the Elks Lodge in Palo Alto each October - this year on the 15th. Click here for more information.

Polymer clay covers, imprinted with my carved dragonfly
Paste paper accordion: Italic calligraphy

During the Exhibition of Artist Books I bought these fun books, Book Artist Blues, an open edition, and The Tourist, mine is #20 out of a limited edition of 30, from Nikki Thompson of Deconstructed Artichoke Press. 


Green Chair Press was there, I loved this handmade spiral bound book, A Reader’s Diary. Comes with a pretty bookmark to remind the reader on rating the book. Lovely idea and I had to have it!


At the Exhibitor Hall I bought this lovely print that hangs in my kitchen.
I saw this wonderful handmade bone folder from Don Drake, owner of Dreaming Mind Bindery and had to have it. Once a year Don sells his handmade bone folders at local book art events and I was lucky to see it early in the day. By the end of the day he sold out.


My husband Kevin enjoyed talking with Ingrid Butler of Moth Marblers. Kevin knows how to marble paper and fabric. Kevin bought this lovely silk necktie. For more info on Ingrid, go here.

They had 50 vendors and I spent all day visiting and learning with mini-workshops, from 11 am to 5 pm. It was a heavenly day!


And no visit to San Francisco is complete without a visit to the City Lights Book Store where I actually met Lawrence Ferlinghetti - an unforgettable experience. Do you recommend any book arts events?


©Anne Rita Taylor 2017

Friday, September 15, 2017

Halloween Books


Even though Halloween is a month away, it’s fun to show books I made recently. I also have suggestions on how to use them.


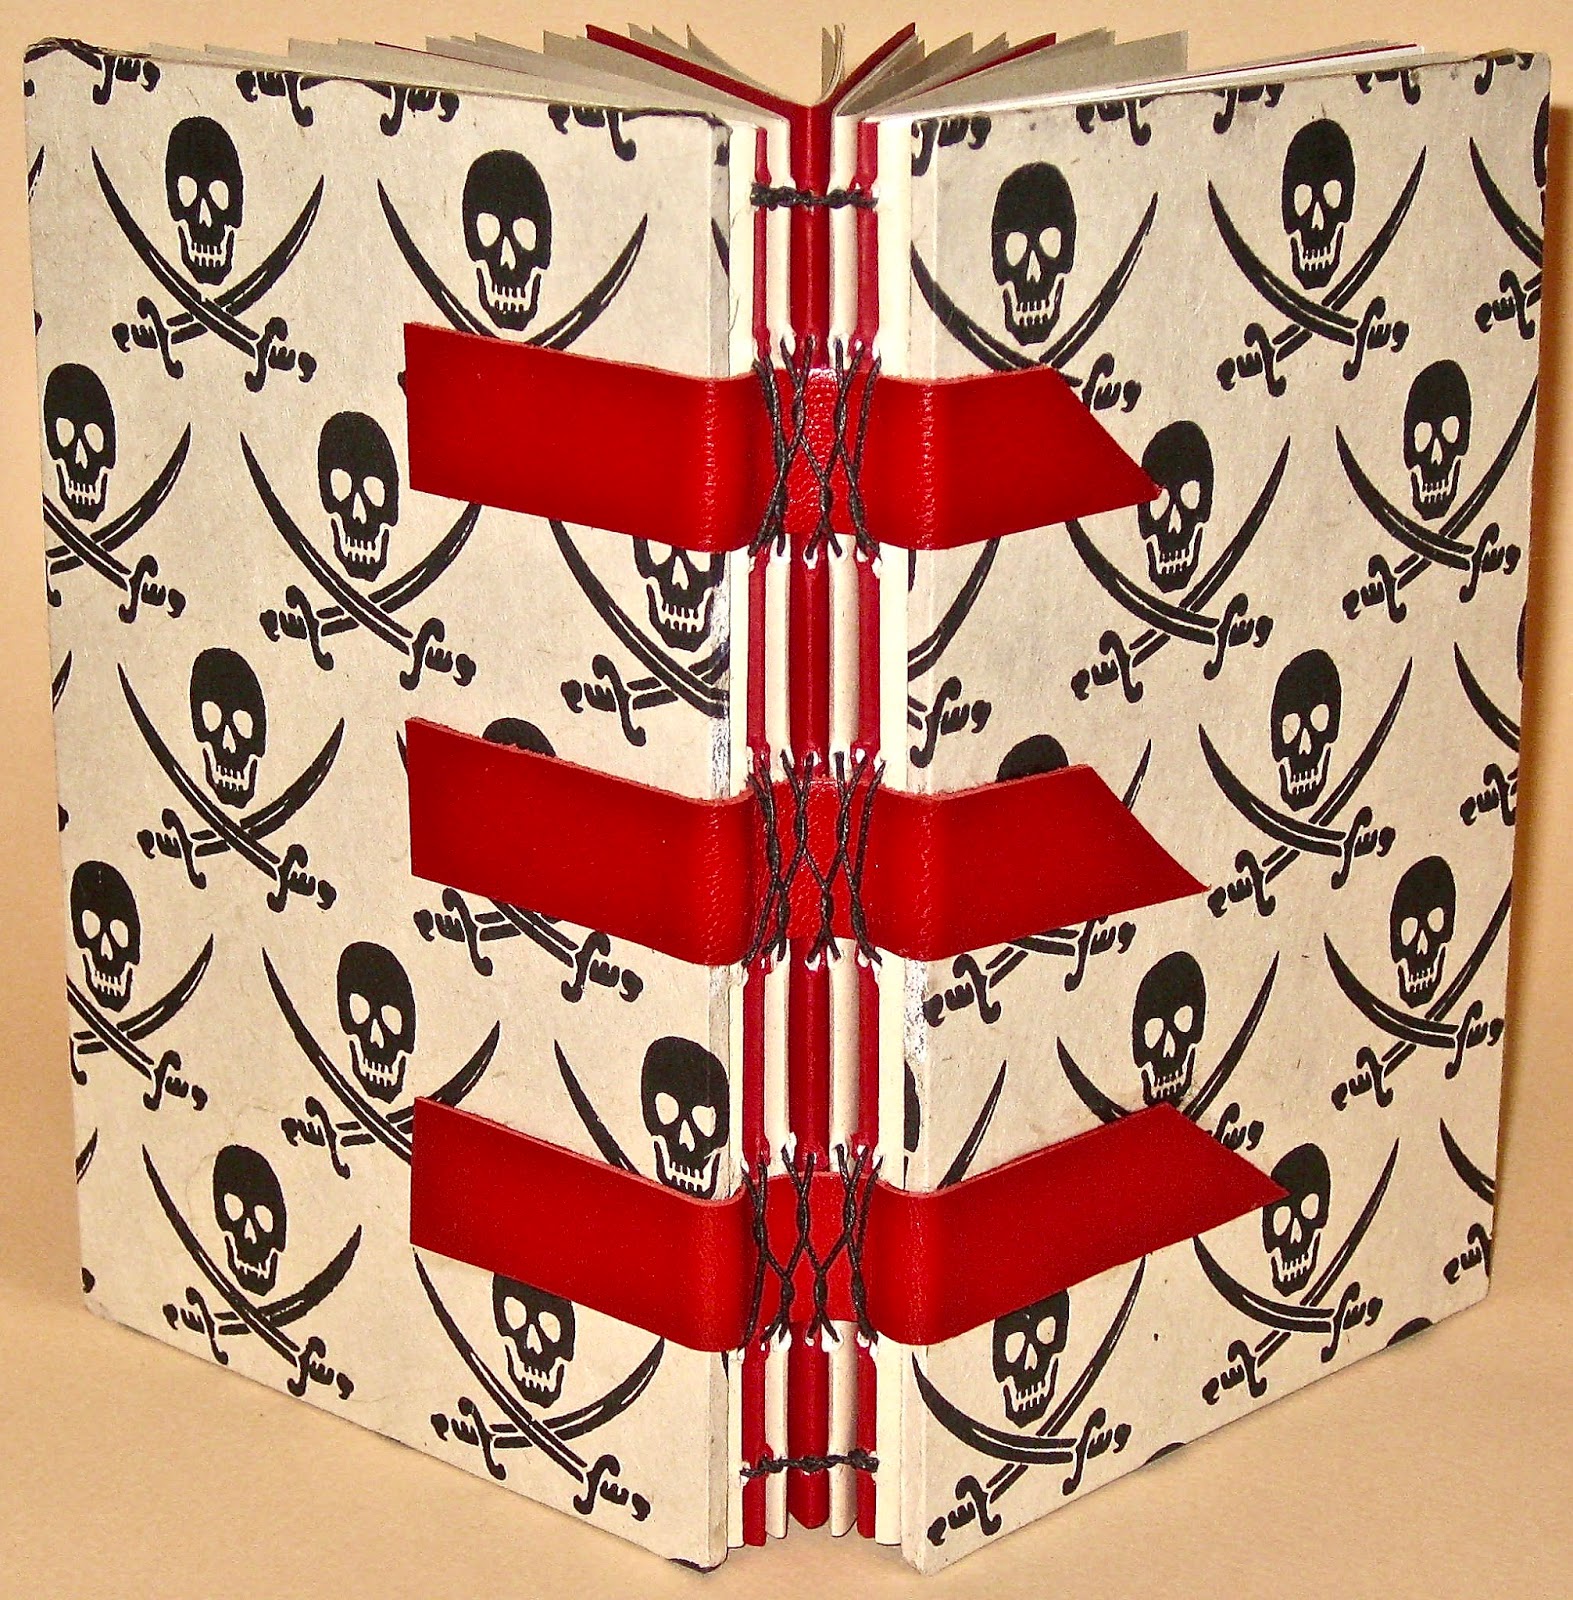
My friend, Liz Constable of Book Art Studios in New Zealand, used skull paper for her book covers. She inspired me to make books with two prints of skull paper I had in my paper stash.


This book is an ode to Liz, who taught me a form of Coptic binding last year when I won her Facebook contest. See my blog about winning - here. Liz will give online classes soon and she is a fabulous teacher, very patient!


The other book I bound with a French Link Stitch to fit into a box. Art Supply on Main in Houston (where I taught last July 2016) sells box kits, the box below I made with their kit.


Important to keep in mind the needle catches under the thread closest to the next hole (or station) to make the French Link. Also be sure to use a Kettle stitch at the top and bottom so your book covers will not wobble.


I came up with these uses for a Halloween book:

1. Visitor book for Trick or Treaters using their costumed character name, such as Wonder Woman, Batman, etc.

2. Halloween party guest book using visitor names and scary comments about horror movies they love!

3. Personalize: write their names on book covers for family and friends.


When would you use a Halloween Book!?! 

Boo!


©Anne Rita Taylor 2017

Friday, September 1, 2017

6 Ways to Get Published


I enjoy writing - I published 22 Zines (small magazines for family & friends) from 2000 to 2015, before starting my blog. 
Following are 6 ways I shared my writing in print, was paid for a few, and you can do it too!  
- Basics are listed at the bottom: how you can send your writing to magazines.


1. Submit to a major magazine
I submitted my article to several women’s magazines and received rejections. My husband noticed the celebrity magazine, The Star was having a series on ways to improve your life. 

My volunteering article had the same theme: Help Others, Help Yourself, about how you can learn doing many jobs by volunteering. I submitted, they edited, and paid me $300.


2. Submit to Trade Magazines also called industry newsletters or journals.

In 2001 I learned White Vine Letters, a type of calligraphy. Fast forward twelve years, I thought about writing an article to include historical facts. I asked the teacher I had in 2001, Karla Hamilton, she said to go for it. 

I added a short how-to and was accepted in the book arts and calligraphy trade journal, Bound & Lettered. I was paid $100 in supplies from John Neal Books, White Vine Letters, 2013.


RubberStampMadness is a rubber stamp trade magazine. For the article I wrote, Sculpting the Image, 1992 - I was paid $40. - how carving a rubber stamp compares to sculpting in clay.


3. Write instructions 
I wrote instructions for a class I taught July 2016 & made $300 for one session teaching people how to make this book. 


4. Write for Newsletters 
Association for the Calligraphic Arts - Newsletter, Artist Demonstration at The Getty Museum, 2004. Before I visited The Getty I checked the Event Calendar online and sent an RSVP to attend the demonstration.


For Ampersand, the journal for The Pacific Center for Book Arts, I wrote The Thrill of the Swap, 2008 about the joy of swapping my handmade books.

Also, for the Houston Calligraphy Guild's newsletter, Handscrit, I wrote Eraser Carving, about how carved rubber stamps can be used with calligraphy. I just re-submitted my article to another trade journal.


5. Write an anonymous article for a Public Relations Rep. I wrote an article about the Cinco Ranch Ladies Club Craft Group meeting that I led for The Cinco Spirit, Crafting in Katy, 2017.


6. Print your own magazine
I wrote Zines for family & friends, see my 3 blogs I wrote about publishing, writing & designing ZINES:


Basics:

Go to the Magazine’s web page to be sure what type of articles they print. After you found out if the magazine is right for your masterpiece, go to the About Us page where you will find the various Editors listed.

Writers Market, updated annually, is especially helpful. The 2018 edition sells for $25 from Amazon.

Please let me know if my suggestions helped you in any way!
©Anne Rita Taylor 2017

Friday, August 18, 2017

Medieval Techniques Up Close

By Max Ehrmann - Artwork by Anne Rita Taylor ©2017

I was recently invited, along with a few bookbinders, calligraphers & artists, to visit the Rare Books Collections in the MD Anderson Library of the University of Houston. It was very inspiring! I highly recommend visiting. Be sure to schedule a tour!

My biggest surprise was actually handling this Medieval book from the 1400s: Reims Book of Hours. When I visited The Getty Center and The Huntington Library in Los Angeles, their books were under glass and opened to a particular page. By the way, the medieval period lasted from the 5th to the 15th Century.


Lisa German, the Dean of Libraries at UH and Christian Kelleher, the Department Head of UH Special Collections were very informative about their Special Collections. So exciting to learn about these treasures! Go here to learn more about Special Collections at UH: 
http://libraries.uh.edu/branches/special-collections/rare-books/


When I attended a demonstration at The Getty Center in Los Angeles, white gloves were worn while handling a piece of ancient art. Sylvana Barrett demonstrated how gilding and paints were made in the 1400's - here is her website: http://www.cennini21.com


I authored an article in the Newsletter for the Association for the Calligraphic Arts in 2004 about the two hour demonstration. Focusing on the painting of St. Andrew by Masaccio in 1426, Sylvana showed us how historically authentic materials: gold leaf, egg tempera, and terre verde pigment, were used.


Sylvana explained that distemper was pigment mixed with rabbit glue. Painted on fabric - it has a dry look such as The Annunciation by Dieric Bouts in 1450. It looks as if the paint could flake off, and is kept under glass.

Artwork by Anne Rita Taylor ©2017


With their limited art supplies, unlike the range we have now, it is amazing what the Medieval monks were able to accomplish six hundred years ago! 


Please let me know if you have any thoughts about these historic treasures.


See more of the UH Digital Library here:
http://digital.lib.uh.edu/collection/reims/item/437/show/21
©Anne Rita Taylor 2017

Friday, August 4, 2017

Learning Copperplate Calligraphy


Last year I took a class with a Houston calligrapher, Terry Hausner, to learn Copperplate calligraphy - wedding invitation calligraphy - also called English Roundhand. See Terry’s website: http://www.terrygraphicsink.com

My name on top written by Terry Hausner - on the bottom written by Heather Held

I have not practiced - I should if I want to get better at it. I also took a Spencerian calligraphy workshop with Michael Sull a while ago. See his Facebook page: 
https://www.facebook.com/MichaelRSull/
For me, Spencerian is a tiny bit easier since I do not have to write thicks and thins with ink, but there are more swirls which are called flourishes.


One of my many Copperplate practice pages. Terry taught us to write in various sizes, increasing and decreasing the dimensions of our written letters. I think smaller for this type of calligraphy is slightly easier for me. Plus the slant, when practiced against the slanting lines, made me realize what mistakes I was making.

I find it difficult to be light when making thin lines and then heavy by forcing the tines of the  nib into a thickness. In the class we started with learning how to hold an Oblique Penholder - I’m still learning. I prefer a staff.


Terry supplied many different nibs for us to try. As noted, I have a heavy hand when I write, so I need a nib that can withstand pressure. After much trial and error, I like to use the Nikko G and Zebra G, plus the Speedball 512 nib. 


I have written a form of Copperplate with a water soluble pencil, then sprayed it with water achieving a blurry effect as in the quote below: There is nothing else.


Like anything, the more we practice the better we get. I’m not a professional calligrapher for that reason, I do not practice enough. But I do enjoy writing as an end in itself. How do you feel about it?


And here is a photo of the many writing instruments used in calligraphy - shared on Facebook by Tom Lane - known as Ginger Monkey.  Find him on Facebook here: 
©Anne Rita Taylor 2017