Showing posts with label Arnold Grummer. Show all posts

Friday, December 30, 2016

Review 2016: Top 3 Posts

This is my 53rd post! I started this weekly blog on New Year’s Day 2016. The Unicorn Dream above posted in Creating White Vine Letters (5th most popular!) on March 4th. Click link: https://anneritataylor.blogspot.com/2016/03/creating-white-vine-letters.html


My top 3 popular posts: Blogger tells me how many times each blog is viewed - not including my views either.


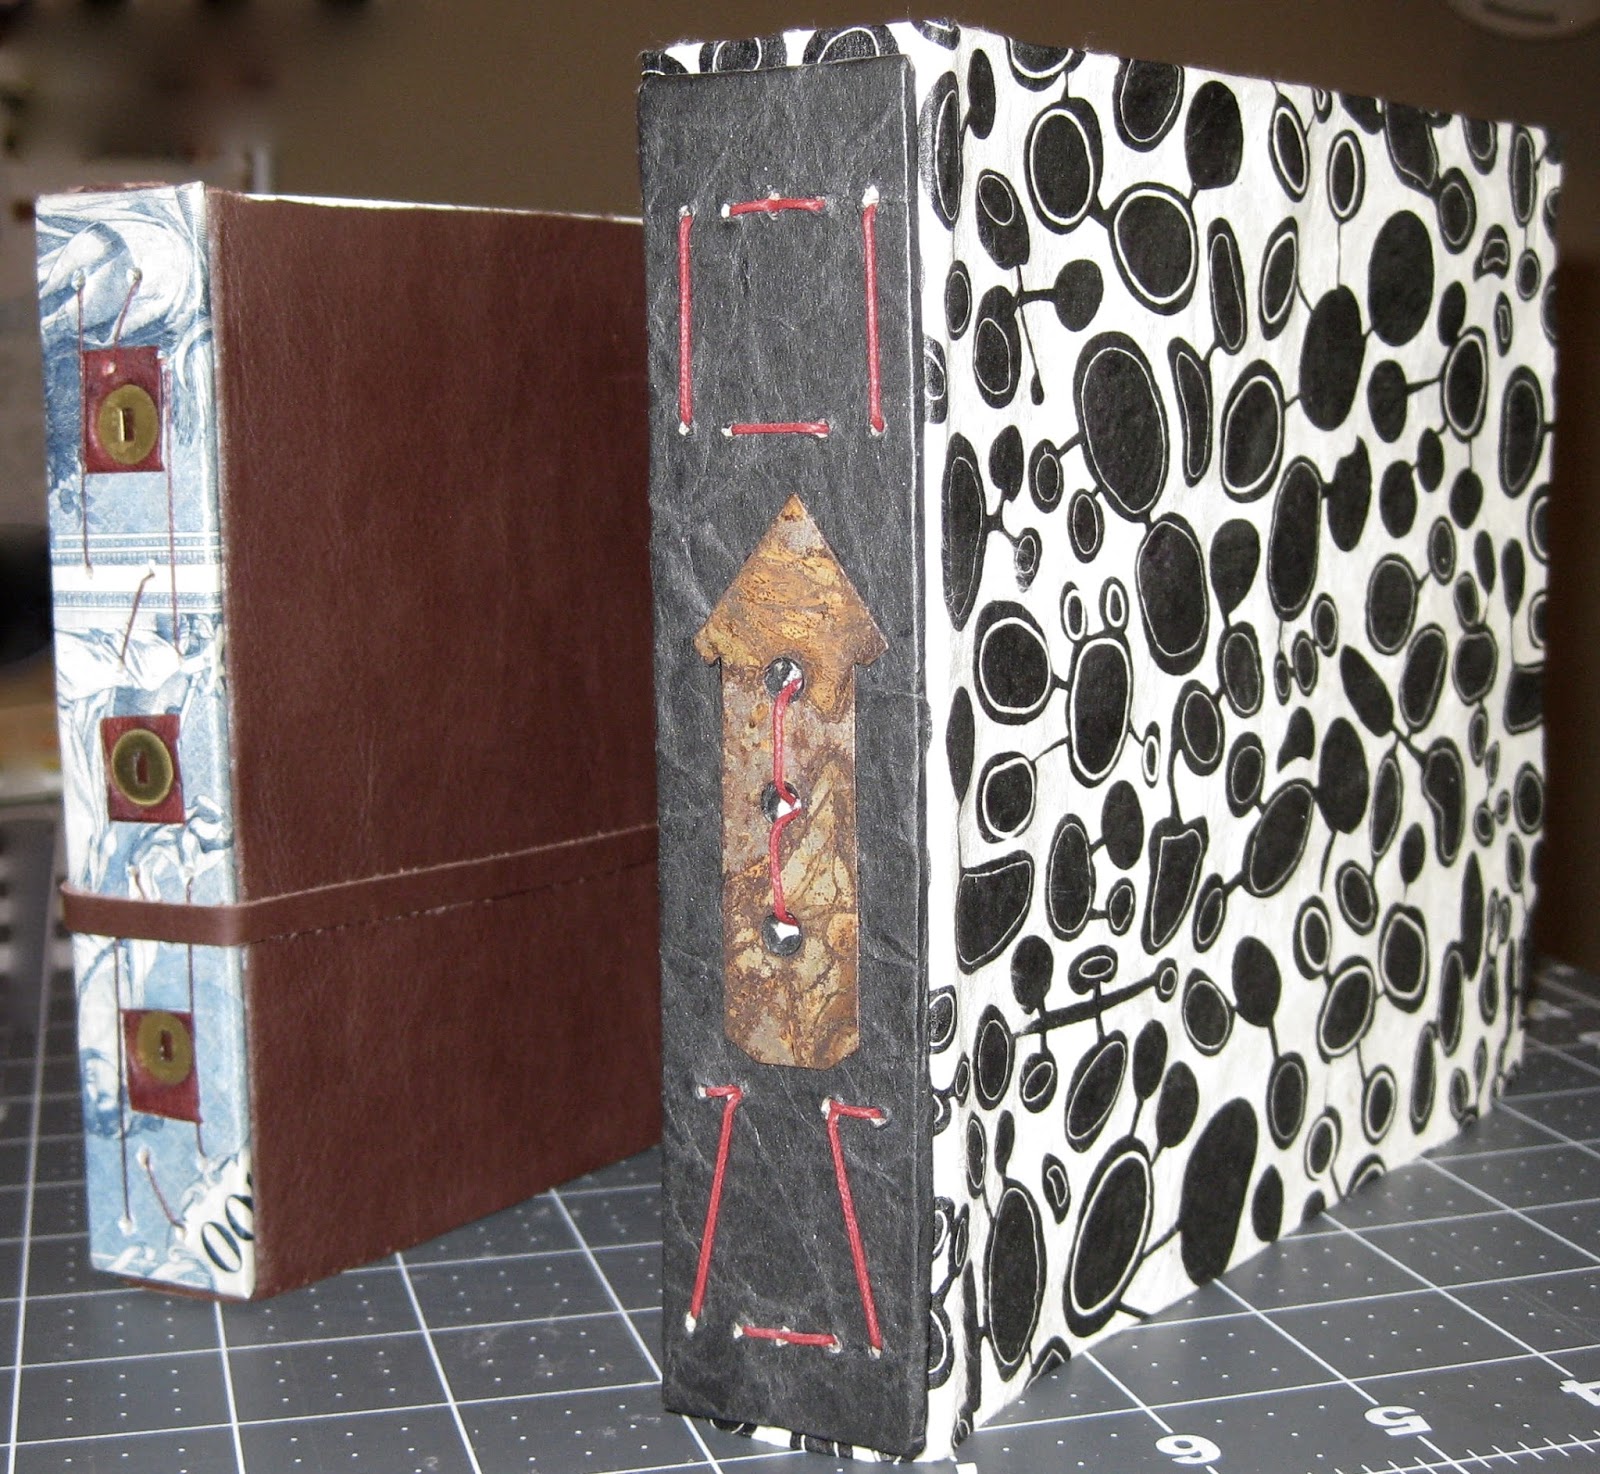
Beaded Books is my #1 blog for 2016 - instructional & the most popular - posted on September 23rd. Click link:
https://anneritataylor.blogspot.com/2016/09/making-books-with-beads.html 


There are two 2nd most viewed posts: Bookbinding in Los Angeles - with Charlene Mathews posted on May 20th. Click link:
https://anneritataylor.blogspot.com/2016/05/bookbinding-in-los-angeles.html 
Plus: Carving Images for Prints - DIY posted on January 15th. Click link:
https://anneritataylor.blogspot.com/2016/01/carving-images-for-prints.html


3rd most popular is Marbling Suminagashi Style - also instructional posted on March 18th:
https://anneritataylor.blogspot.com/2016/03/marbling-suminagashi-style.html


The top calligraphy post - also about book binding -& my 4th most popular is Fabric Book of Intentions on February 19th: Click link: 
https://anneritataylor.blogspot.com/2016/02/fabric-book-of-intentions.html


I was on the Design Team for Arnold Grummer Paper Making: February through July. It was a happy experience - AG sent me free art supplies - what more could I ask!?!
My most popular post for AG is on July 27th. Click link:
http://arnoldgrummerpapermaking.blogspot.com/2016/07/window-zig-zag-book.html


If you read this far…  During 2017 my blog posts go twice a month - the 1st and 3rd Friday of the month - so I have more time for art-making. 
Here's hoping we all have a peaceful and rewarding Happy New Year!
©Anne Rita Taylor 2016

Friday, July 29, 2016

Window Accordion Book

©Anne Rita Taylor 2016
I wanted to combine handmade paper with a Zig Zag book plus my carved images to make a gift for a friend going through health issues. I wrote some encouraging words alongside the printed images for her.
Supplies:
Handmade paper - 5 pieces:
1 x 7 inches, (2) 4 x 5 inches, (2) 2 1/2 x 6 inches
Arnold Grummer Mini Zig Zag Books
PVA or Mod Podge glue
Bonefolder, scissors, ruler
Carved images or rubber stamps
The Zig Zag book has 6 sides, begin by cutting slits on the 2nd and third side, then the 4th and 5th side, cut into one and 1/8th inches, leaving a half inch on the top and bottom, as pictured:

Fold in where you made the cuts to form your window, as pictured:

Paint the Zig Zag inside the covers and top and bottom with Tim Holtz Distress Stain: Peeled Paint. Adhere both 4 x 5 inch paper pieces to each cover.
Glue two pieces of 2 1/2 inch by 6 inches handmade paper together forming a long strip 2 1/2 by 11 1/2 inch piece. Print your rubber stamps in front of the openings, the windows. Glue 1 1/2 inches of each end inside the covers, and fold with the book.
Lastly, to make the band, fold around your closed book the 1 x 7 inch handmade paper and glue the overlapping half inch, not too tight because you want it to slide off.
Your gift is ready to write your heartfelt wishes inside for your recipient to enjoy!

Friday, April 1, 2016

Edible Book Day

©Anne Rita Taylor 2016


April 1st is Edible Book Day, celebrated since 2000, with the Books 2 Eat Festival in Houston and globally too. Tonight festivities held at 7:00 pm at The Printing Museum. For this event I created my "A is for Apples" book using a French Link Binding.


Here are some of the steps I took sewing the French Link Stitch. I begin by making sewing stations (holes) inside my sewing cradle using a needle awl. 


Glossy white paper cut 7 3/4 by 4 3/4 inches to fold six pages together to form a signature. Six signatures for a total of 144 pages in the text block. A page in front and back are glued with apple end papers to each cover.


I wanted to have a ribbon to tie to an apple, but also tie a bow after the apple is eaten. So besides having the ribbon I also have the two hinges to prevent the book from going wobbly.


I sewed two kettle stitch areas at the head and the tail. Even though I started sewing from the outside, at the last sewing station (hole) I thread a needle, make a kettle stitch, then bring the thread inside to knot and tie off. 


I placed the book in my Arnold Grummer Paper Press for a few hours before I glued the apple end papers to the front of the text block & front cover, and repeat for the back cover. 


The French Link stitch is a pretty binding with an open spine where you can see the stitches.


I'm happy with how it came out! Thanks go to Lee Steiner, current President of the Houston Book Arts Guild who suggested using a basket and the title, A is for Apples, too!


Friday, March 25, 2016

Ribbon Book Binding

©Anne Rita Taylor 2016

We had interesting themes when we swapped handmade books online a few years ago. It was always fun seeing what each person made. The books had content, except when we would have a Blank Book Exchange or a How-To Book Binding.


The How-To Book Binding theme always received the most participation! We included the paper and instructions. I sent the Ribbon Binding - pretty and an easy book to make. It requires only 4 pages with a cover, plus a good amount of ribbon. Especially good for using leftover hand-made paper scraps.


Supplies: 
Cover: 5 1/2 by 8 inches, folded in half to 4 inches by 5 1/2 inches
Paper: 4 pages 5 1/2 by 8 inches, also folded in half - I used stationery with roses on the edges
Pretty Hand-made paper: 3 by 4 inches - Paper that I made with flower inclusions
Optional paper for framing the handmade paper on the cover: 2 1/2 by 3 1/2
Ribbon: 4 feet; Double sided tape
Two beads with large holes


Directions:
• Start by wrapping the ribbon around the outside into the inside middle of the cover. Tie a knot at the top leaving 6 inches of ribbon - where you’ll add a bead

  • Fold in one page wrapping the ribbon around the valley fold of the page. Loop through the ribbon at the bottom
  • Fold in the second page and wrap the ribbon, loop through the ribbon at the top
  • Proceed doing the same for the next two pages and you’ll arrive back at the top.
  • Tie another knot at the top.

Knots at top and bottom


    • To avoid pages slipping, cover the ribbon binding with frame and hand-made paper.
    • Thread beads to the ribbon. The beads should have large holes to go through the ribbon. Tie a knot at the end of the bead.


    Fun to make, put the book in an Easter Basket! Plus fun to keep for a little diary or journal.

    Friday, March 11, 2016

    Explosion Birthday Card

    ©Anne Rita Taylor 2016


    The month of March is definitely a birthday month. My sister Margie, my friend EJ, and my niece Jacqueline all have birthdays this month. A fun card to make has Arnold Grummer Skeleton Leaves on the front. Inside I used a fun origami explosion fold, also called the Turkish Map Fold.

    Supplies: 
    8 1/2 inch square piece of paper
    Folded card - 4 1/4 x 5 1/4 inches
    Celebrate It 360 “Happy Birthday” ribbon from Michaels
    Bone Folder, awl
    PVA glue
    Sizzix Textured Impressions Embossing Folders


    Inside page instructions:
    Fold your 8 1/2 square paper in half - use your bone folder for good creases
    Turn over and fold diagonally each way


    Push it together


    Fold each triangular corner to the center
    Turn over and repeat - should look like this


    Open and fold in the triangular corners - keep using your bone folder for better creases
    When opened should look like this.


    Card instructions:
    Use a Sizzix Textured Impressions Embossing flower folder to emboss the front of the card.  
    Wrap Happy Birthday ribbon around the card, attach with your tiny brad on the front.
    The skeleton leaves will hide your tiny brad. 
    Make a hole with your awl to attach the two skeleton leaves with your leaf brad to the card.


    I attached the explosion paper by using double sided tape on the bottom and glue stick on top.


    I stamped a carved stamp I made. You can see my blog from January 15, 2016 for instructions on carving your own stamps. You can use any Happy Birthday stamp, this stamp was made by Magenta.

    Friday, February 26, 2016

    Handmade Gift Box

    ©Anne Rita Taylor 2016


    I used to buy small gift boxes until I learned how to make them out of paper and card stock.  They are easy to make and the colors can be coordinated with your gift. The gift here is a heart-shaped glass paperweight.


    Supplies:
    Arnold Grummer paper making kit
    For a 3 inch square box and 1 and 1/2 inches deep:
    Paper used for top of box should be 1/4 inch bigger than card used for the bottom:
    Top - Hand-made paper, size 8 inches square, follow the link to make paper here.
    Bottom - Cover stock, 7 3/4 inches square


    Directions are the same for both Top and Bottom paper and cover stock:
    • Fold four corners into center.


    • While corners are folded, fold into thirds, left and right edges to center, both ways.


    • Cut 4 corners diagonally up to the point where the folds meets that you just made when you folded both ways into thirds.


    • This is the most important step, so here is another view of the 4 corners diagonally cut.


    • Pull out right and left sides and fold in the cut corners that you just made.


    • Pull up middle sides, stand top and bottom walls up and over the cut triangle tabs.


    The size of this gift box can be used for a small keychain book, beaded necklace, or even a small paperweight less than 3 inches.


    Tie a pretty color-coordinated ribbon around the box, hand stamp a butterfly on a tag, finish with your sentiments.